Welcome to the next step in mastering image prompting with Tengr.ai. Previously, in our last blog post, we covered the basics like choosing your subjects, making your descriptions richer, and selecting the right medium. This time we’ll look into more advanced techniques. We’ll explore camera angles, shot distances, lighting types, mood, color, texture, and image specifications—all in a quest for bringing your creative visions to life.
Understanding Camera Angles and Shot Sizes
As you’re starting to get familiar with the basics of prompting, you can start adding more advanced terms to your prompts. These will help you gain more control over your images and will influence the final outcome. In short, these terms will take your prompting technique to the next level. The first step is to understand the composition and framing. Camera angles and shot distances have their own unique ways of changing the mood, feel and perception of your creation. Consequently, this will decide how the viewer will perceive and interact with your image.
Choosing the Appropriate Shot Distance
The first thing you have to decide is how close or far you want your subject to be in the image. This could be an extreme close-up that reveals the smallest details such as facial expressions, or a full shot showing the subject’s entire environment.
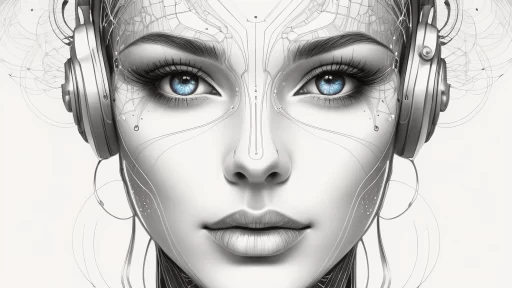
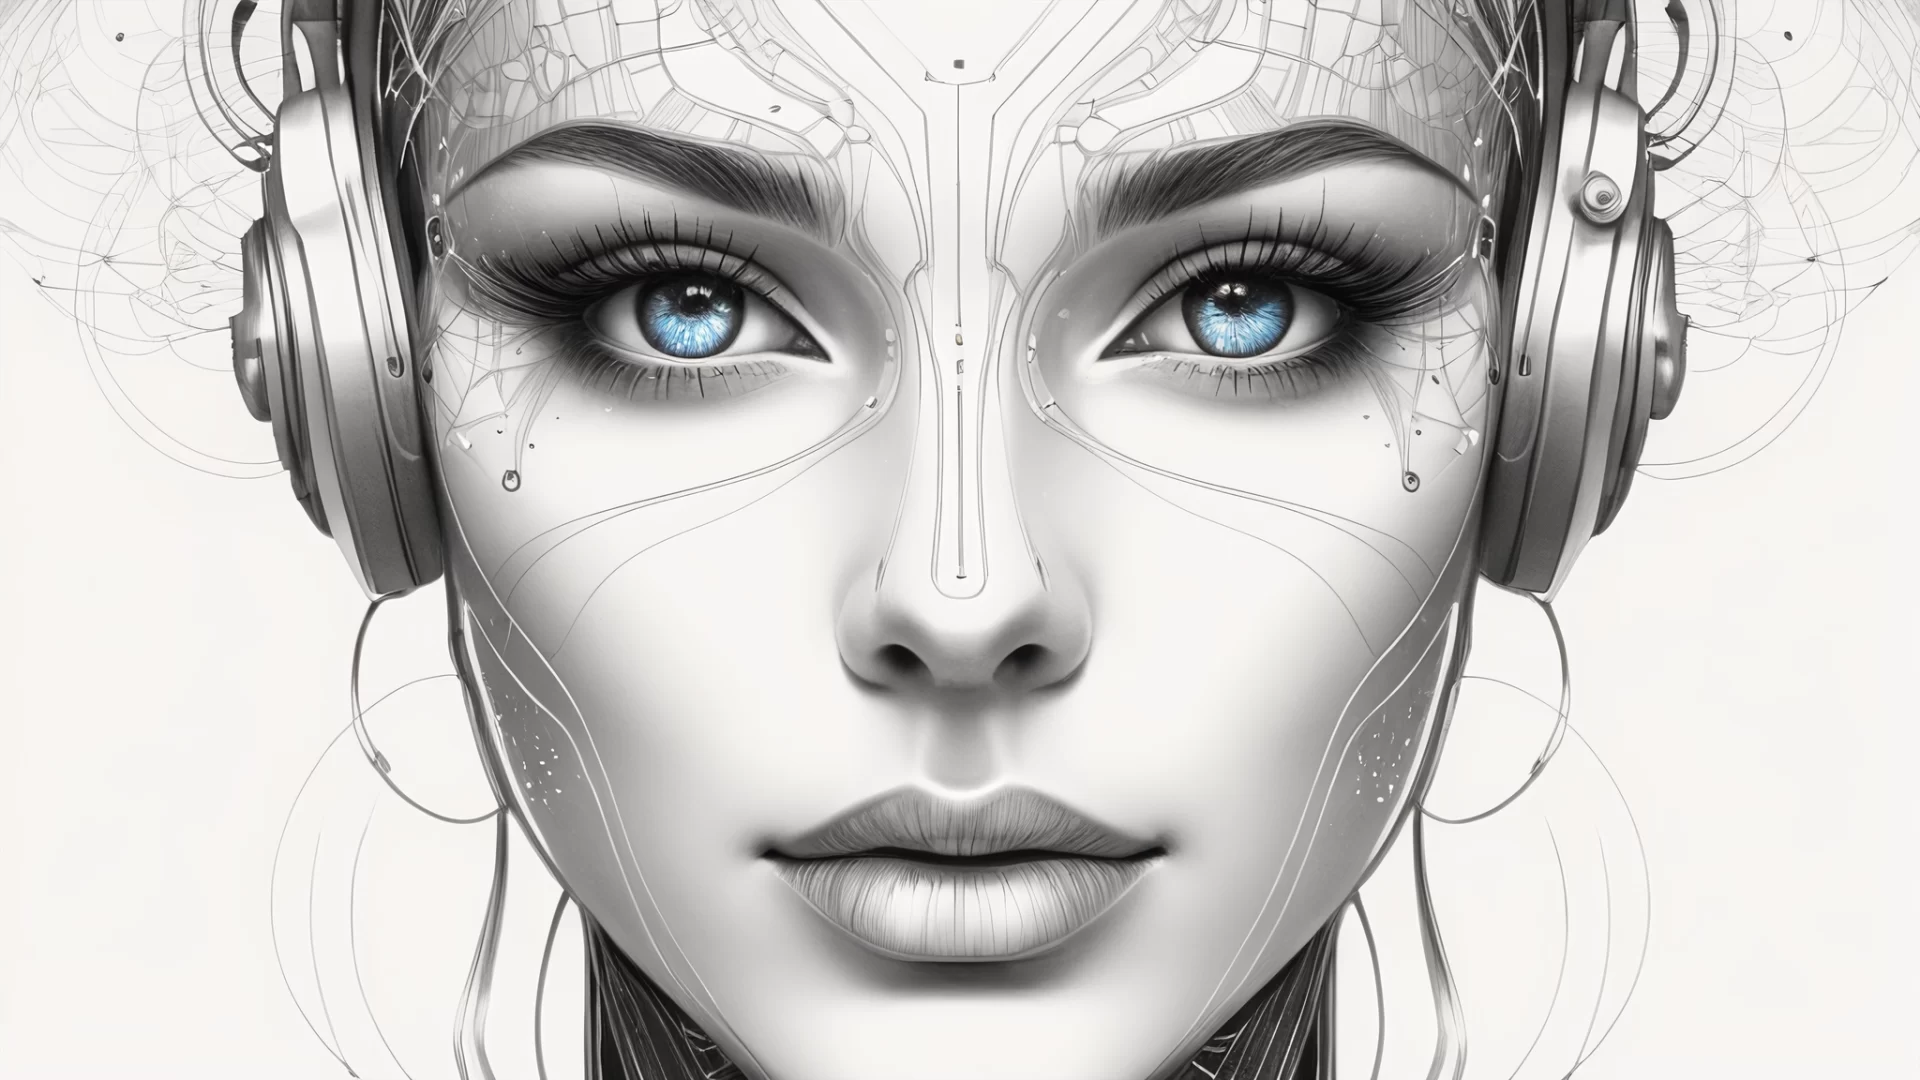
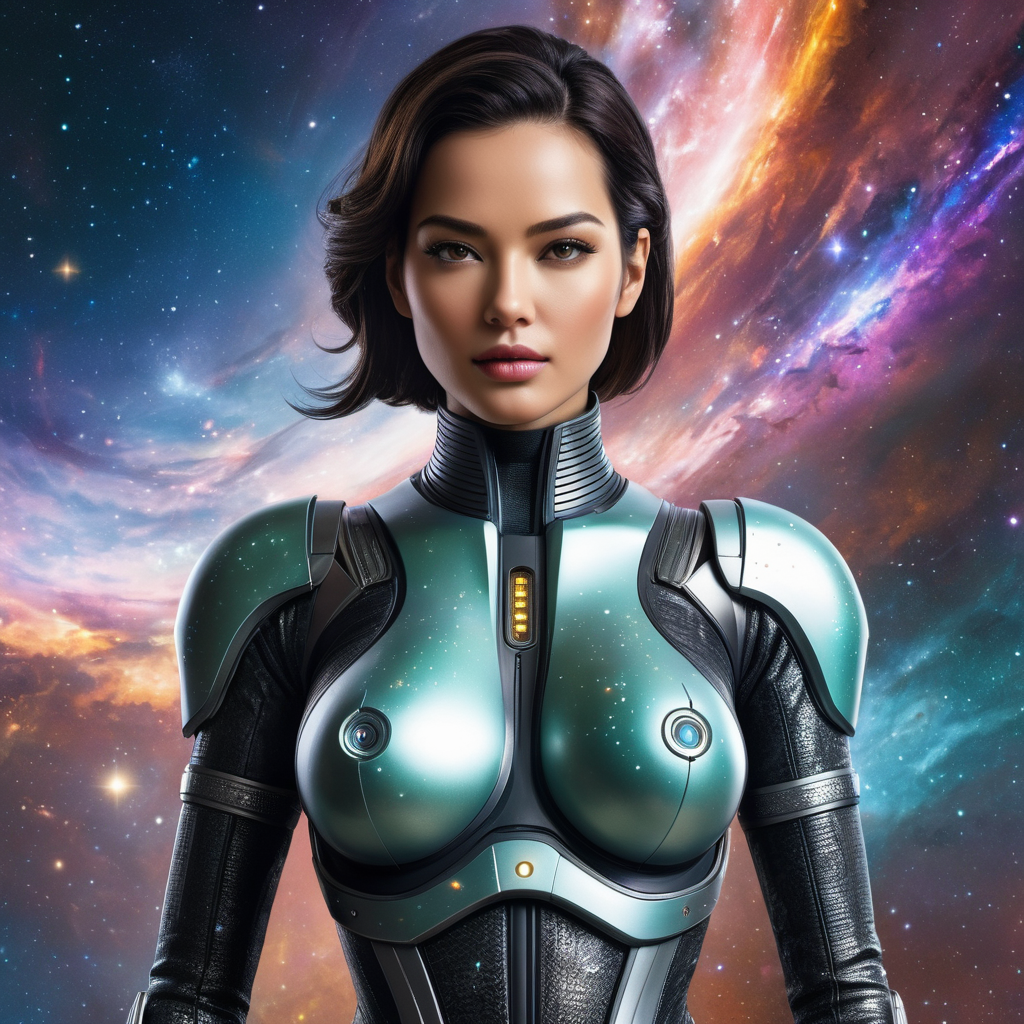
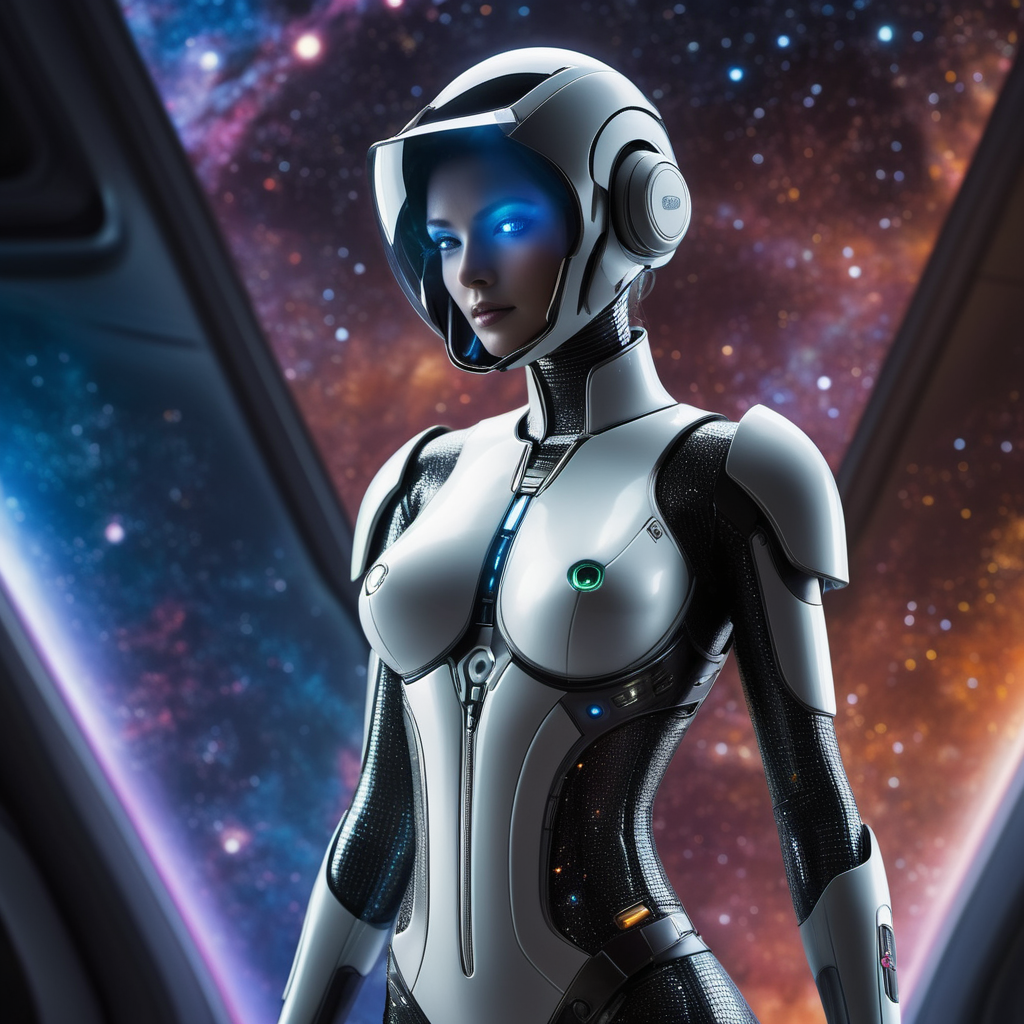
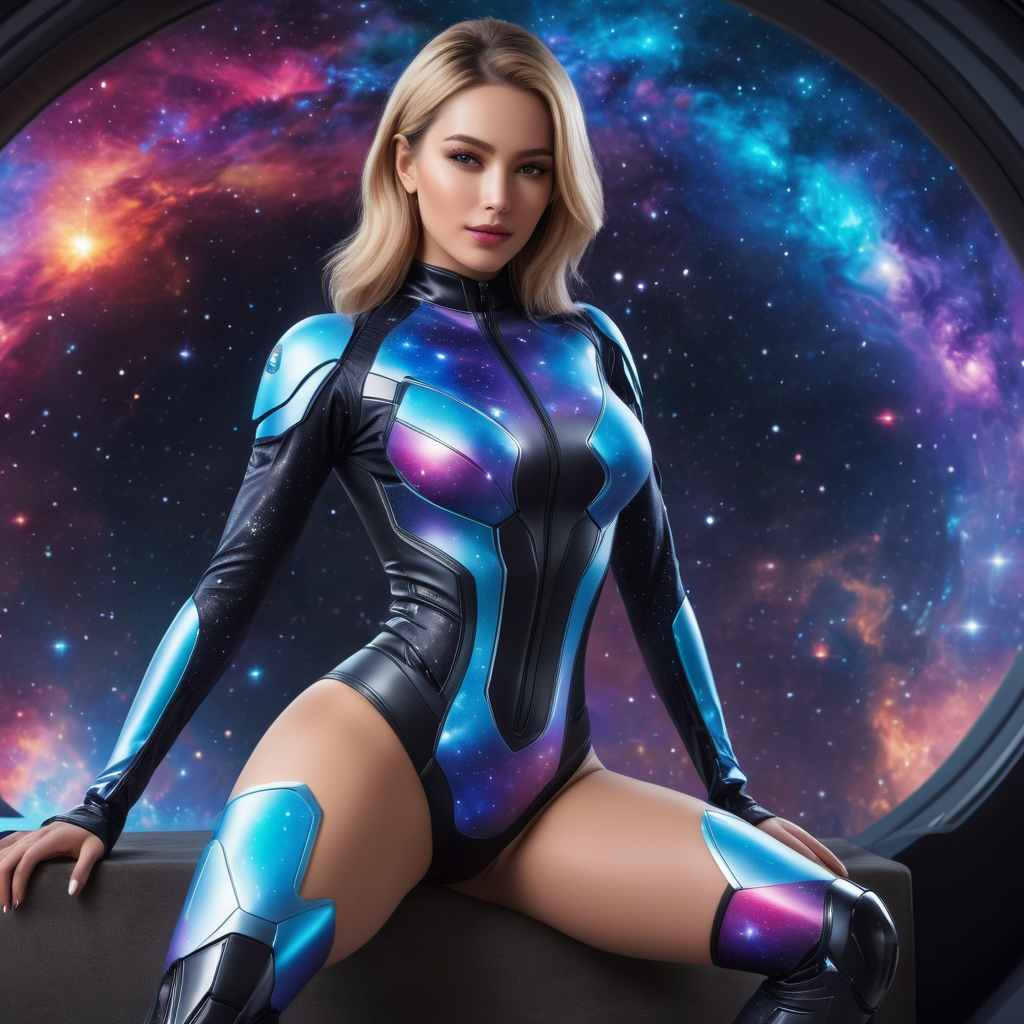
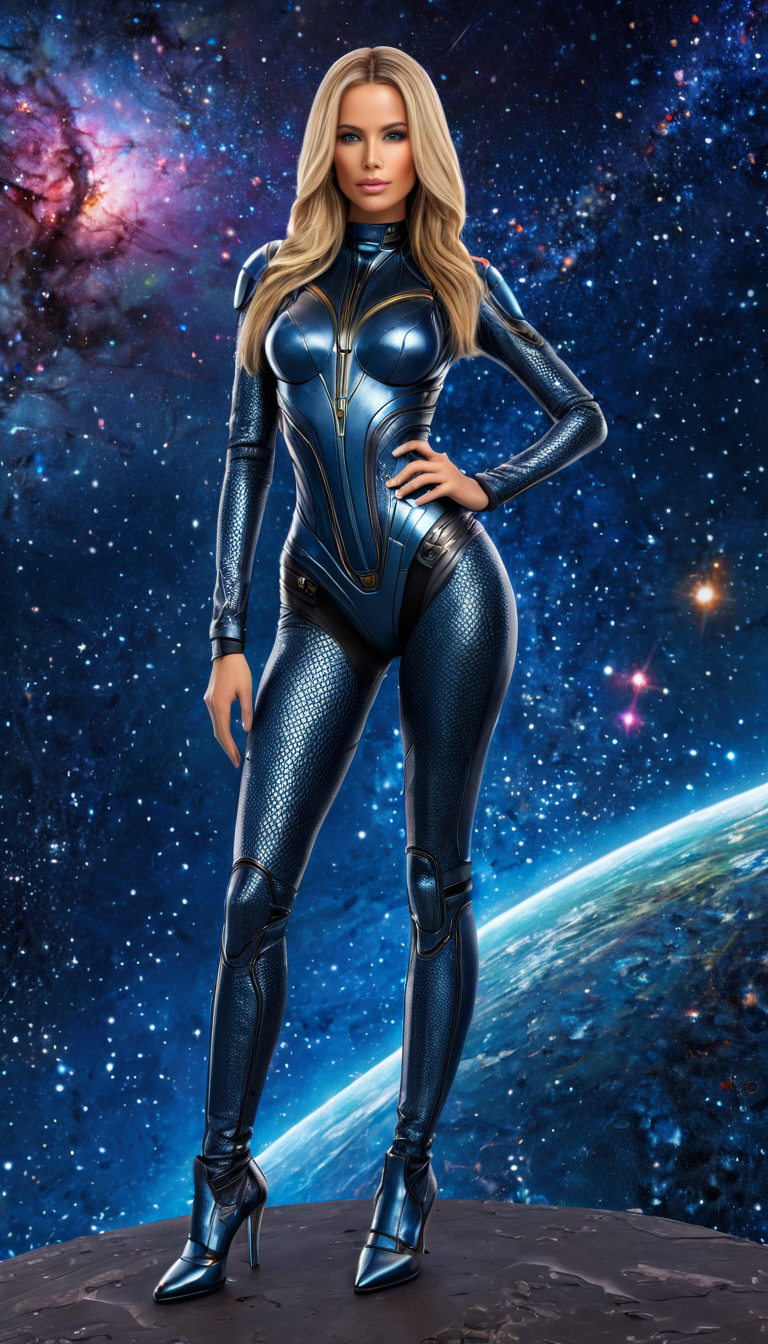
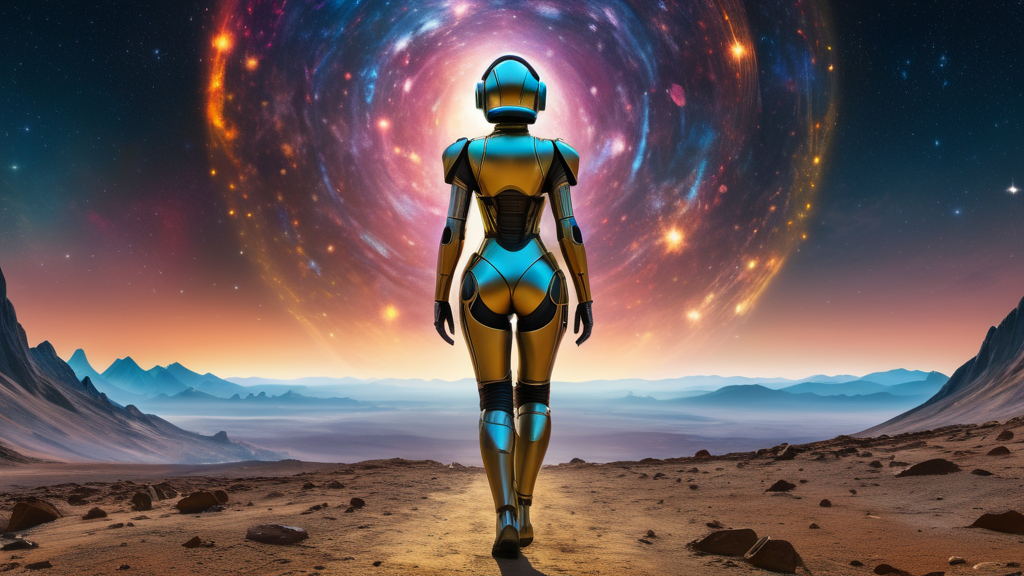
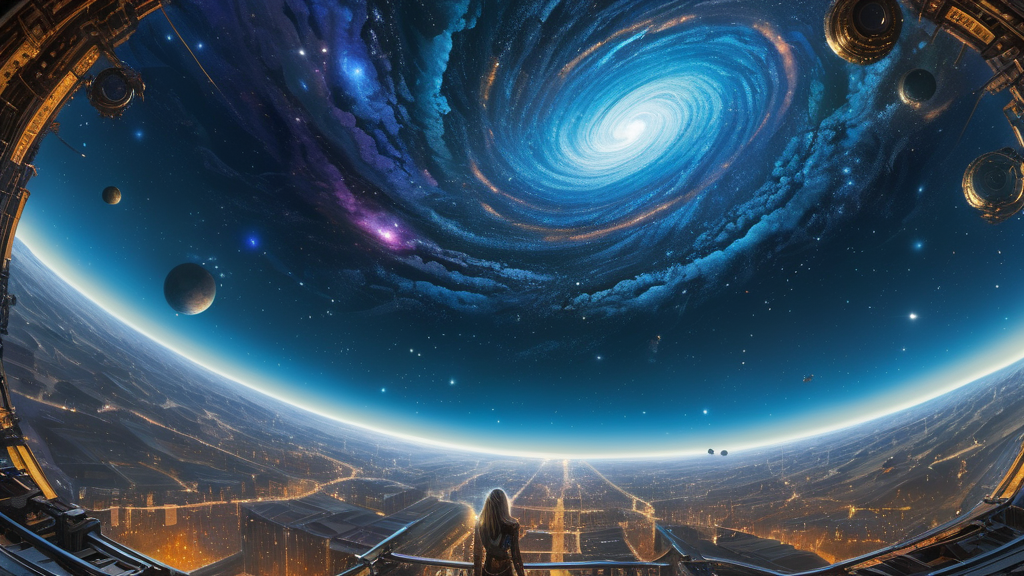
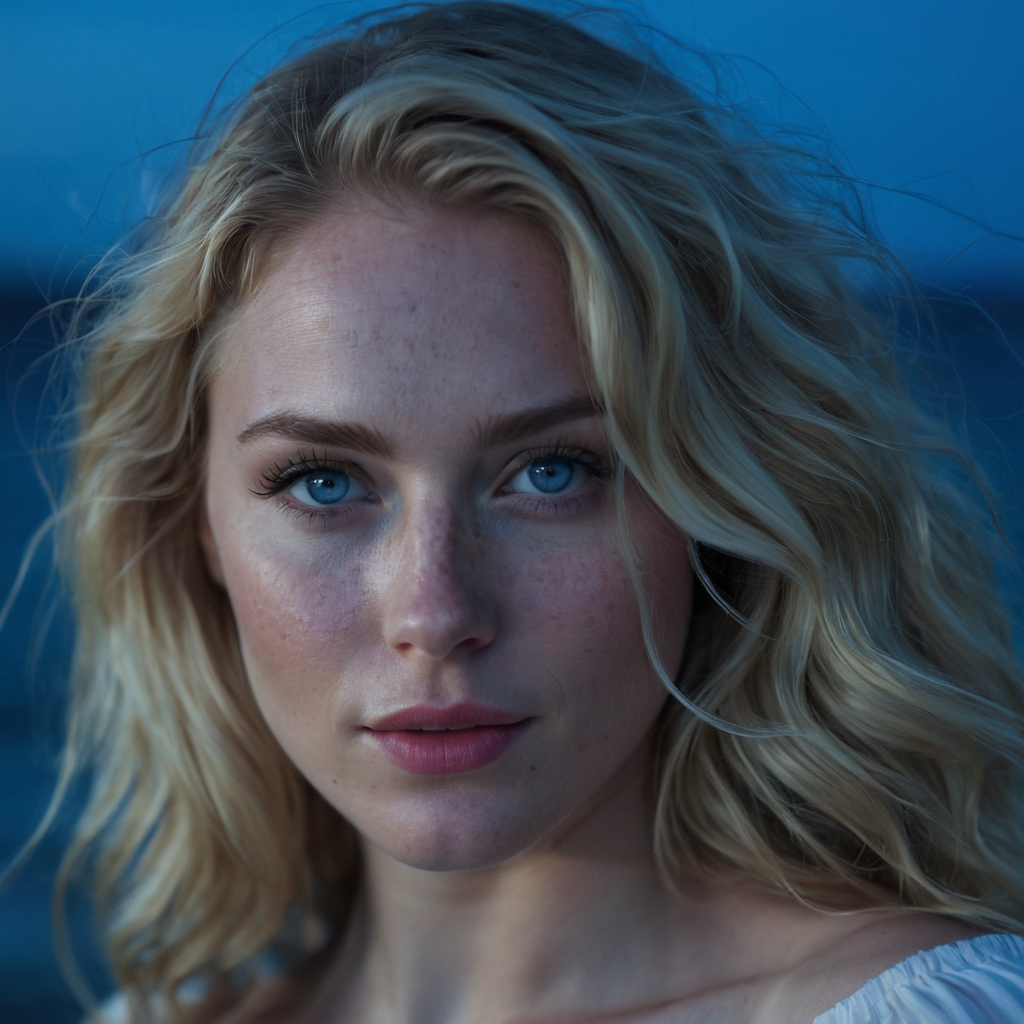
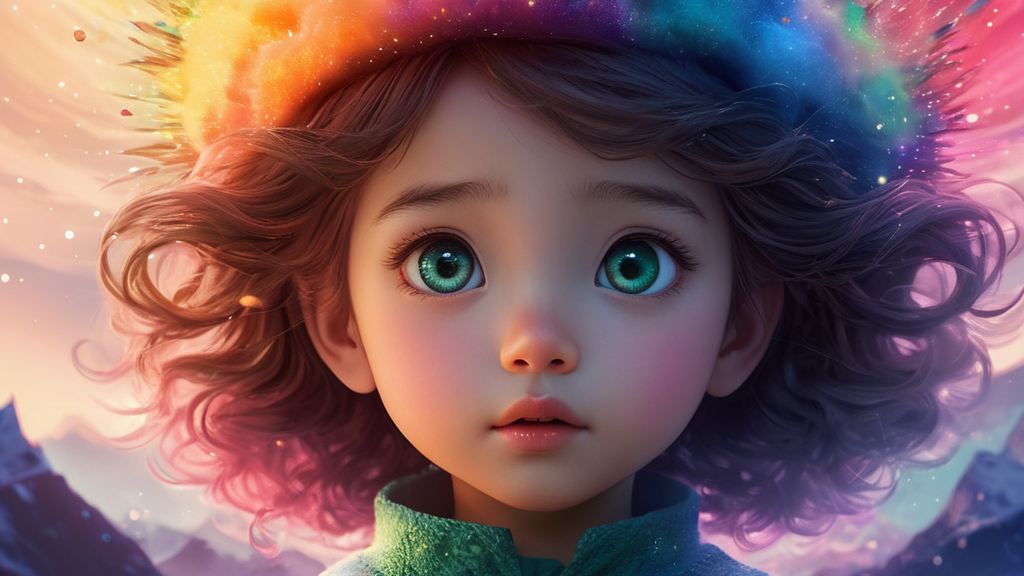
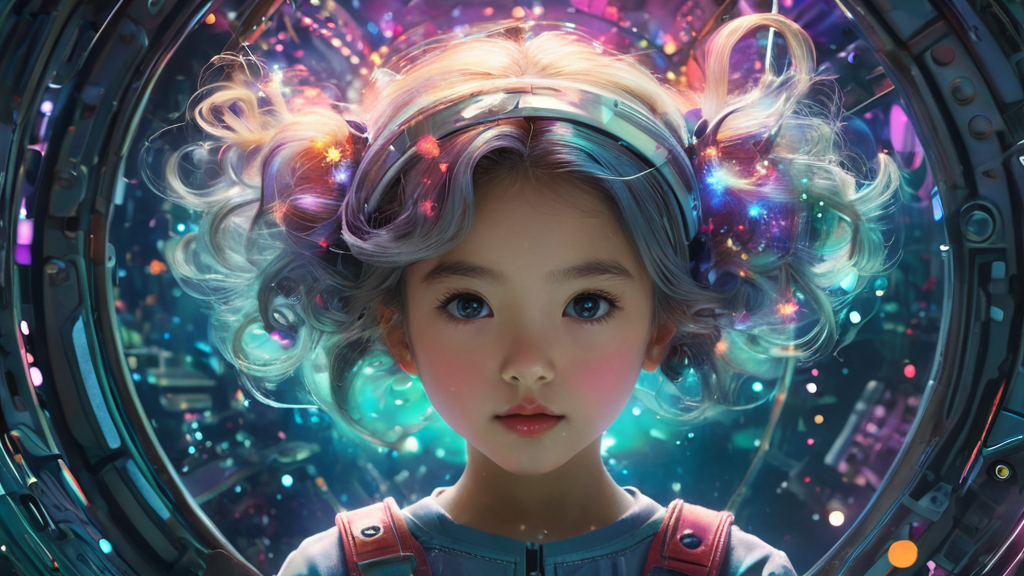
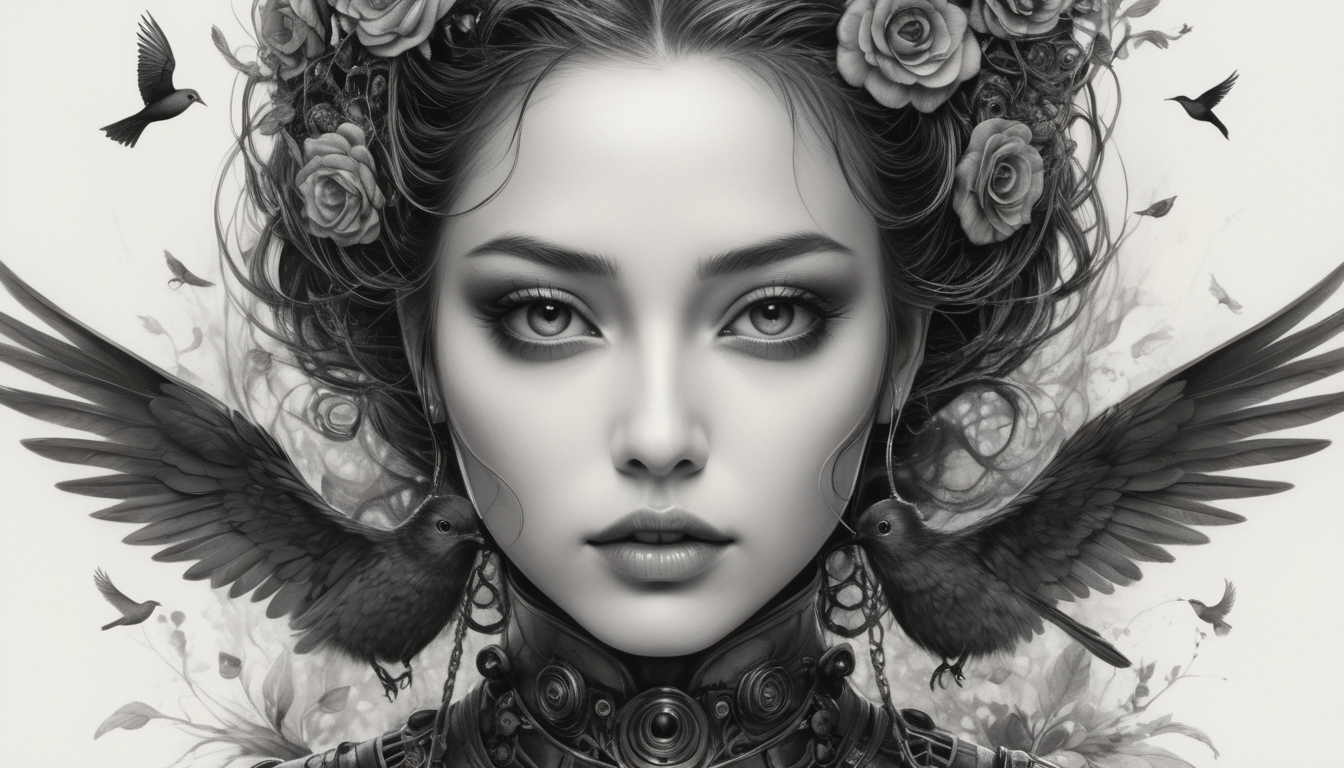
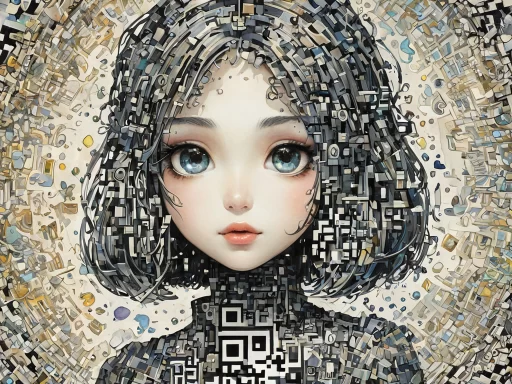
To demonstrate, we’ll take this prompt: “A female android, with an entire cosmic galaxy in her eyes, emphasizing the lines and textures of her skin“, and see it in a few different shot distances.
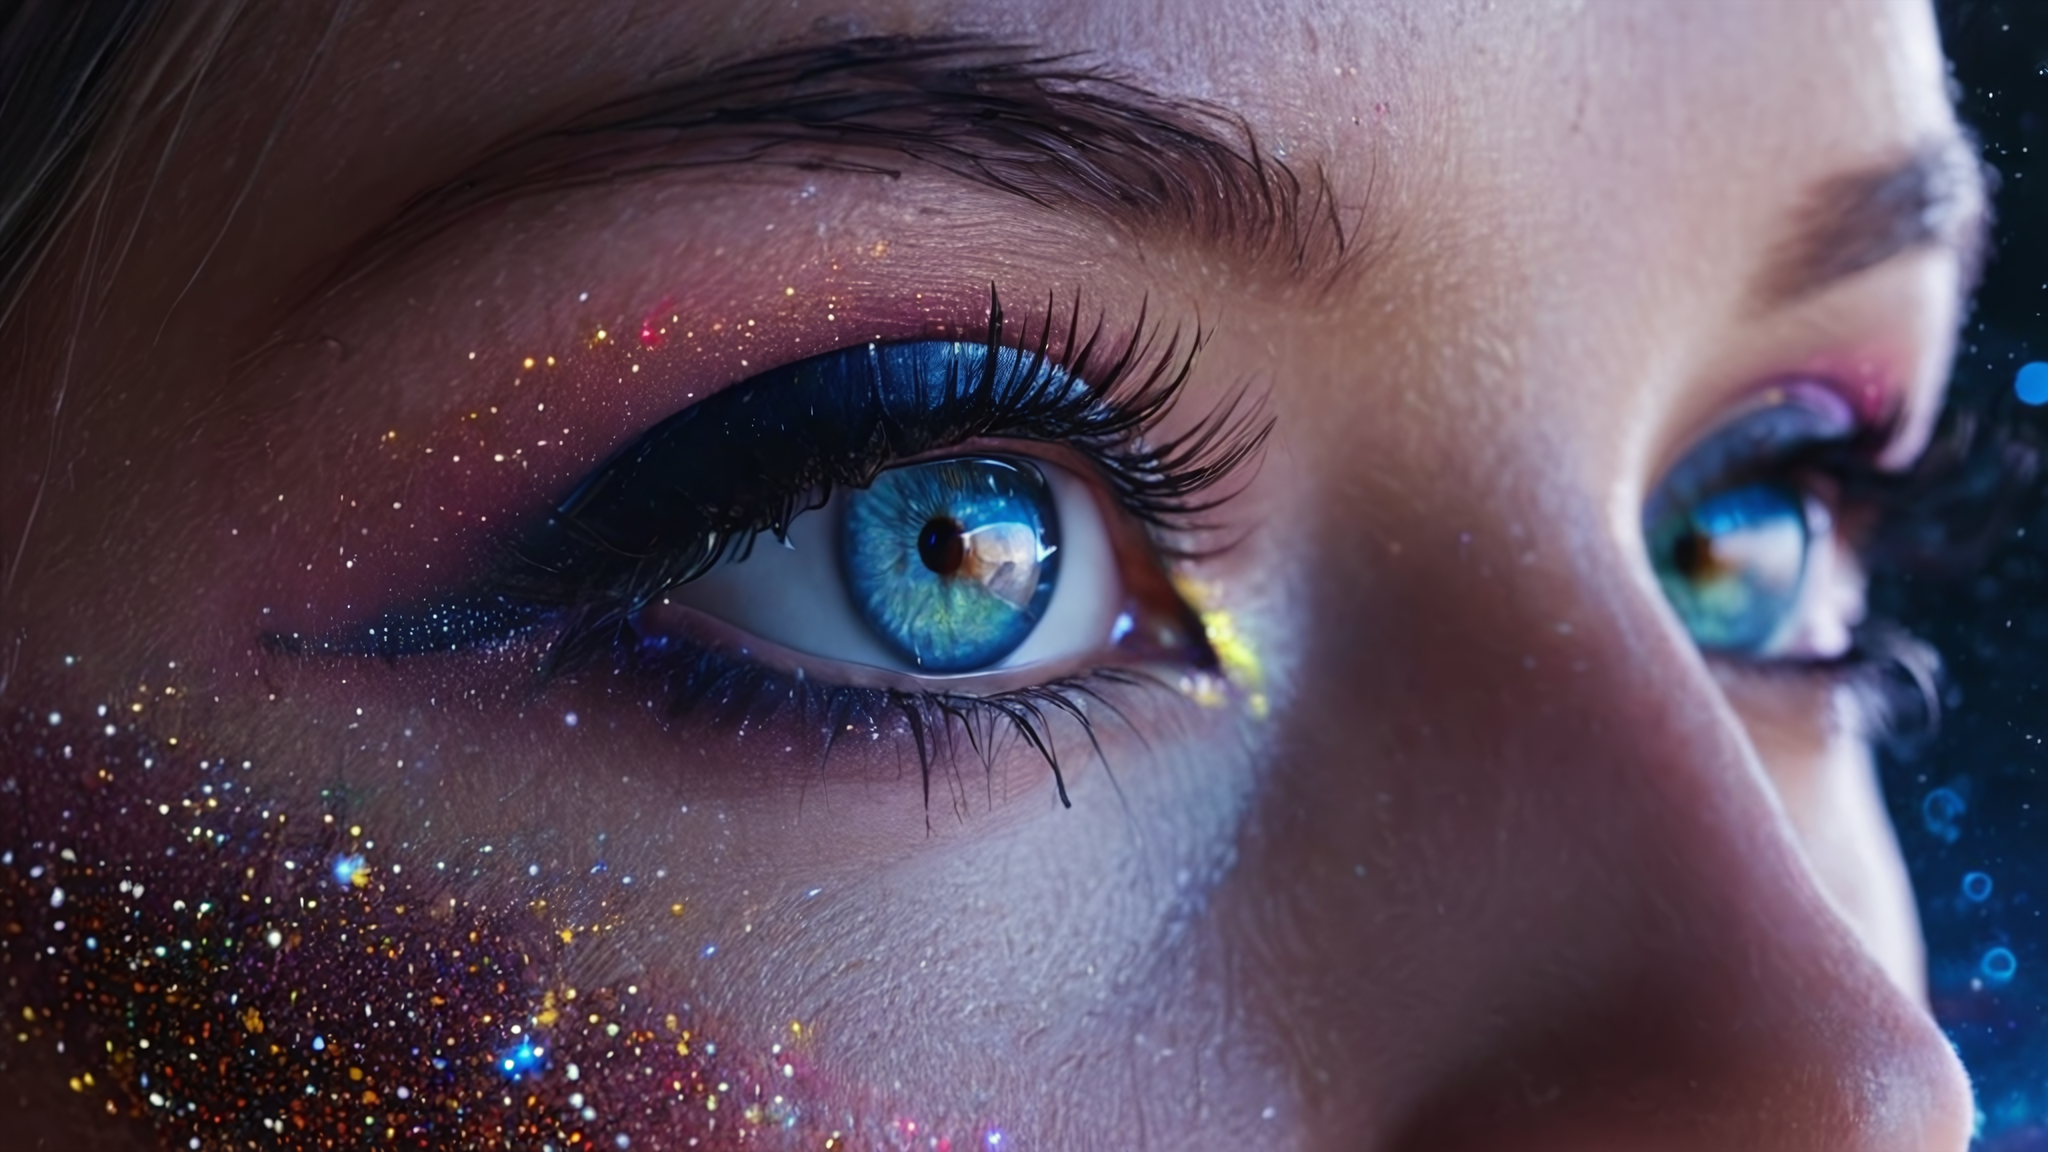
- Extreme Close-Up: This shot focuses on very small details, such as eyes, a portion of the face, and other small aspects.
- Close-up: This one focuses on the face or a specific detail of the subject, being perfect for showing feelings.
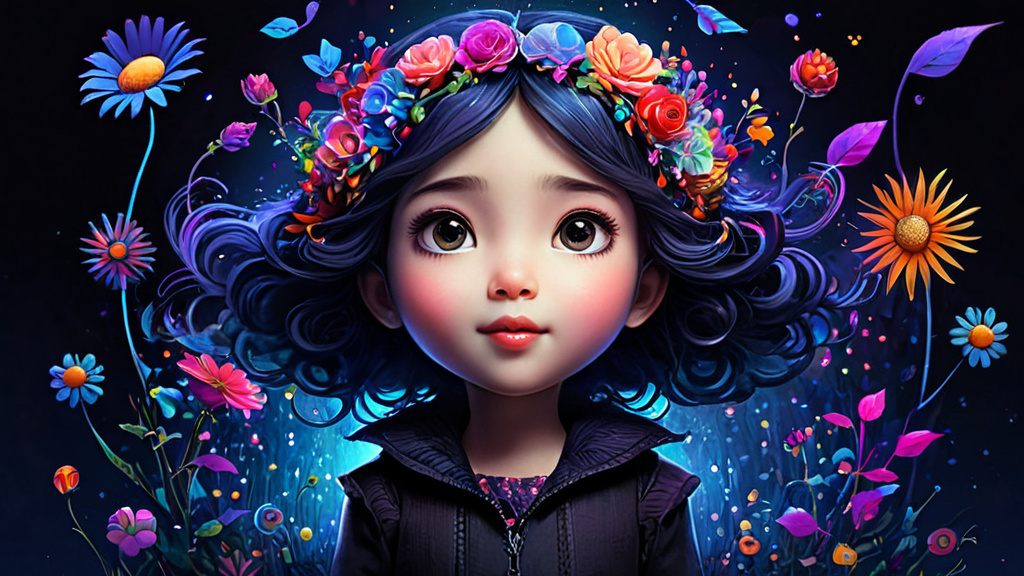
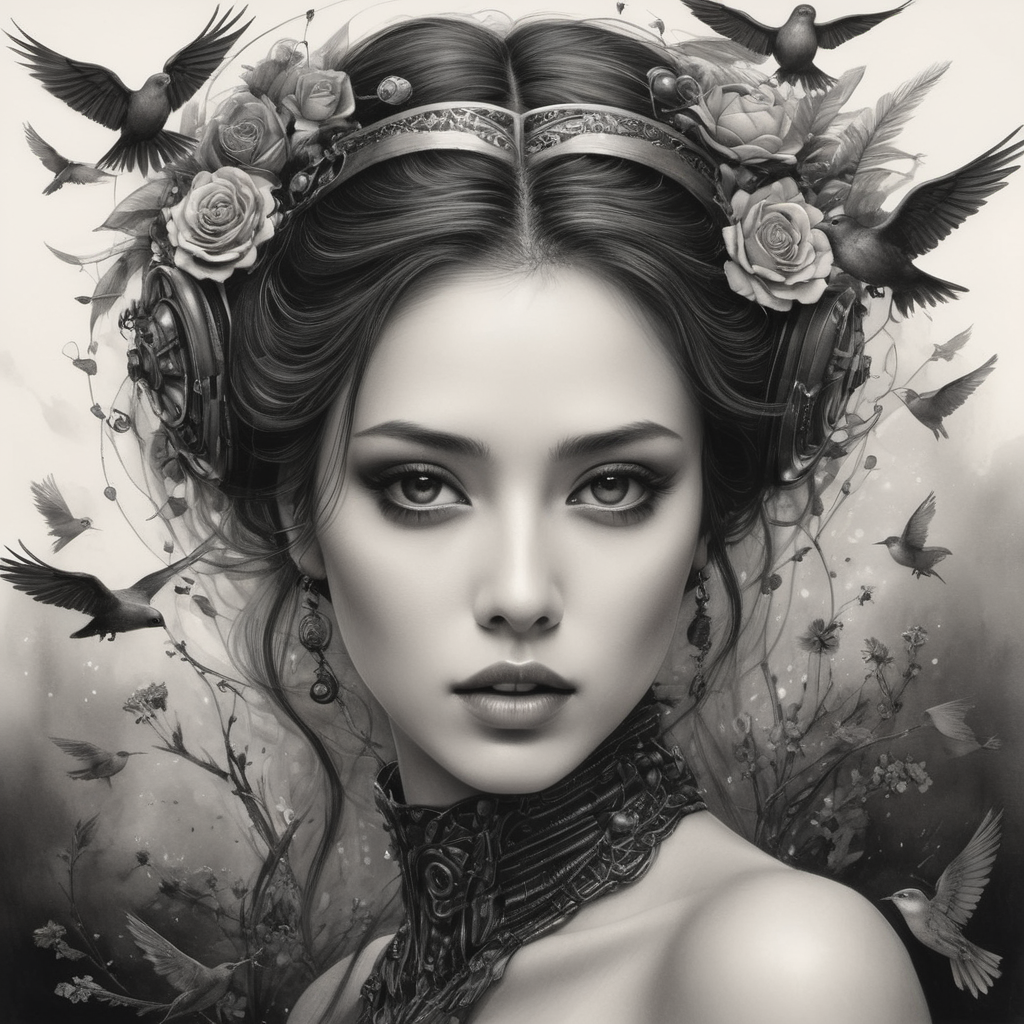
- Medium Close-up: This shot allows for more details, capturing the subject from the chest up.
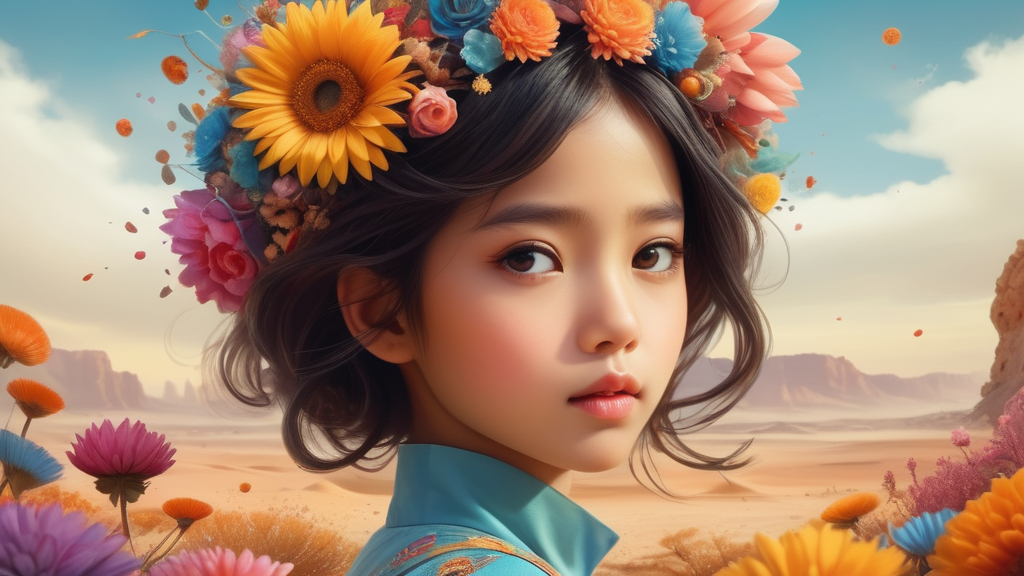
- Medium Shot (or Waist Shot): This allows for more details and context around the subject, showing them within a bit more background, from the waist up.
- Cowboy Shot: Borrowed from Western films, this shot frames the subject from the hips upward. This shot is not very consistent though because a lot of the times the ‘cowboy’ word will influence the result. In cases like this, you have to get creative and get around it by writing “upper body shot” instead of cowboy shot because it’s very similar.
- Medium Full, Medium Long or Upper Body Shot: This creates a cozy balance between the subject and their surroundings. It captures the subject from slightly above the hips or from around the knees up. It includes a significant part of the body but excludes the lower parts, falling somewhere between a Medium Shot and a Full Body Shot. It’s ideal for capturing emotions, body language, and upper garment details.
- Full Shot/Full Body: As the name suggests, it captures the whole subject, from head to toe, including their entire outfit and posture.
- Long Shot or Wide Shot: These shots place the subject in a large space, giving the image perspective and showing the environment as well.
- Extreme Long or Extreme Wide Shot: These can make the subject look really small, distant. It is best used when you want to emphasize the vastness of a location compared to the subject.
Now, let’s see a few shot distance examples:


Choosing the Appropriate Camera Shot Angle:
The next step after choosing the shot distance is finding the right camera angle or view angle to frame your story better. This step shows where the camera is, compared to the subject. Each angle and perspective can influence the perception of your subject. Start by considering basic angles like front view, side view, and back view.
Now, let’s see other angles and their role in perspective:
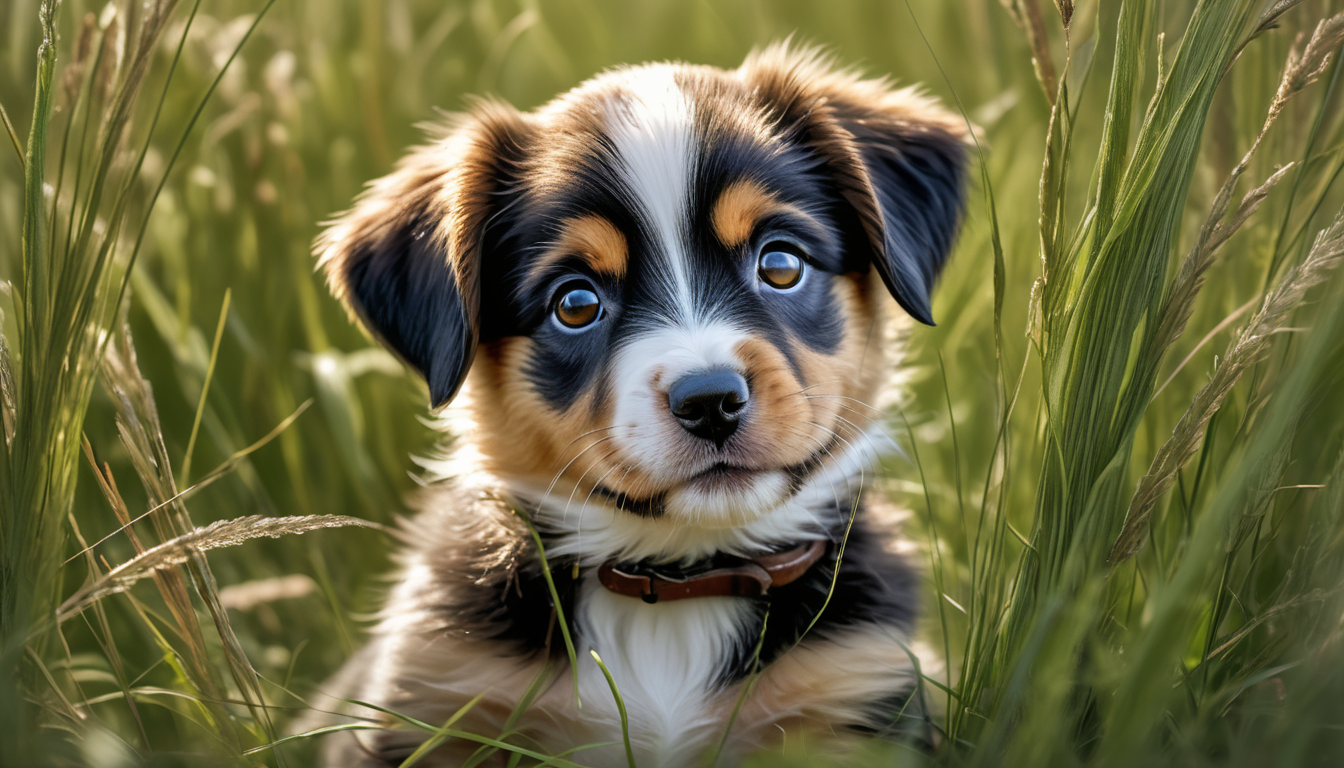
- Eye-Level Shot provides a straightforward and neutral view, the camera being in line with the subject’s eyes. This makes it perfect for portraits. Example prompt: “Eye-level shot, close-up of a cute little puppy, capturing the playful expression on its face, sitting in tall grass.“
- Low Angle: This angle provides a more superior, powerful view of the subject. Looking up at the subject can give it a sense of power or dominance, kind of like a heroic effect. Therefore, it’s great for images where you want your subject to appear more dominant. Example: (“Low-angle shot of a heroic warrior in shining armor, standing tall on a battlefield with a victorious expression”).
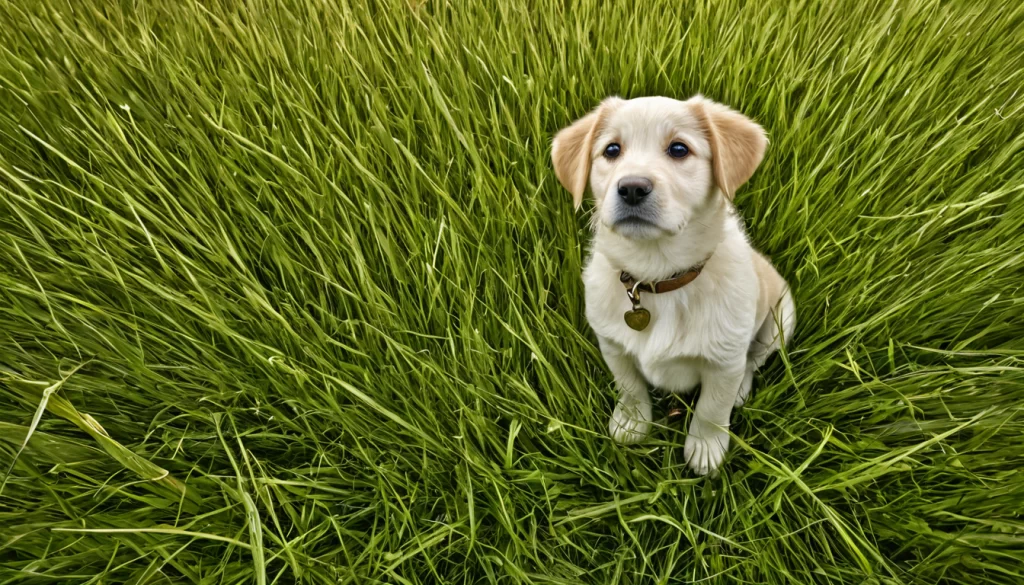
- High Angle: Looking down on the subject can make it appear smaller or more vulnerable. This makes it useful for when you want your subject to incite a sense of insignificance, weakness, or even sadness. Example: (“High-angle shot of a cute puppy looking up sadly, sitting alone on a large tall-grassy field, almost lost in the grass.”)
- Hip-Level: The camera is located around the subject’s hip level.
- Knee-Level: The camera is positioned at knee height. Similar to the Low Angle, this one can suggest a character’s superiority as well.
- Ground Level: The camera is positioned at ground level. Using this angle, you can achieve a really dramatic effect.
- Shoulder-Level: It is similar to the Eye-level Shot, but slightly lower positioned, at the subject’s shoulder. It gives a casual effect.
- Dutch Angle: This can create a sense of disorientation because the camera has a slightly tilted angle.
- Bird’s Eye View or Overhead Shot: This can offer a comprehensive top-down look, because it shows a good amount of the scenery surrounding the subject.
- Aerial Shot: Images are captured from a very high position (drone or helicopter), encapsulating a great amount of the scene.


Remember, the AI is not a professional camera. With all the different camera angles, you might not always get the exact results you’re looking for, but you can always play around with different tricks and techniques that we also mention here in this blog post, until you get the desired outcome.
A word of advice: be cautious with the elements that you mention in your prompt, as mentioning details and descriptions of the face or eyes, might inadvertently lead to a close-up shot, even if that’s not what you want. However, if used appropriately, this trick can also help when you find it difficult to achieve a full body shot for example. In cases like this, mentioning shoes or lower garment details can get you the desired result. However, if you’re still not getting the expected result, try putting the camera angle or shot size at the beginning of your prompt, or use weights.
Even though AI image generation doesn’t use a physical camera, knowing about classic camera settings like shot distances and angles can be very useful. These elements help guide Tengr.ai to recreate the aesthetics of traditional photography.
The Power of Lighting
Using lighting terms in your prompt can affect the overall tone and mood of your images. Consequently, these can take your creations to the next level and transform them into dynamic masterpieces. You can even play around with the color of light as well. Ultimately, use this knowledge as a tool for influencing the emotional and visual impact of your creations.
- Natural Lighting: Sunlight, moonlight, etc. Additionally, you can even specify this by mentioning the time of day.
- Soft Light: Diffused light, it creates a soft look, without harsh shadows. Consequently, it can give a more flattering look to the subject.
- Hard Light: The opposite of Soft Light, it creates hard shadows. It can have a dramatic effect.
- Flat Light: Even light distribution, doesn’t give much contrast. Therefore, it gives a softer, less dramatic image.
- Three-Point Lighting: It creates a three-dimensional look by placing three different light sources in three positions around the subject: Key Light (primary), Fill Light (softens shadows), and Backlight (separates the subject from the background). As a result, this technique enhances depth and dimension.
- High-Key Lighting: A brightly lit scene with minimal shadows and a very low contrast. It contains mostly highlights. Thus, it creates a positive mood.
- Low-Key Lighting: The opposite of High-Key, it creates a dramatic effect. Uses high contrast and hard shadows.
- Backlighting: It gives a very cool effect. The light is positioned behind the subject. It reduces the flatness of an image by giving the subject more depth and shape.
- Rim Lighting: The light is behind the subject, and it highlights its contour. Hence, it creates a halo-like effect, making the image more dramatic and mysterious.
- Loop Lighting: It is a portrait lighting technique characterized by creating a circular shadow on the subject’s face just under the nose. Therefore, it’s ideal for portraits as it gives a flattering look.
- Broad Lighting: In this photography technique, you position the bright light on the side of the face that is toward the camera, making it brightly lit. This approach visually widens the face.
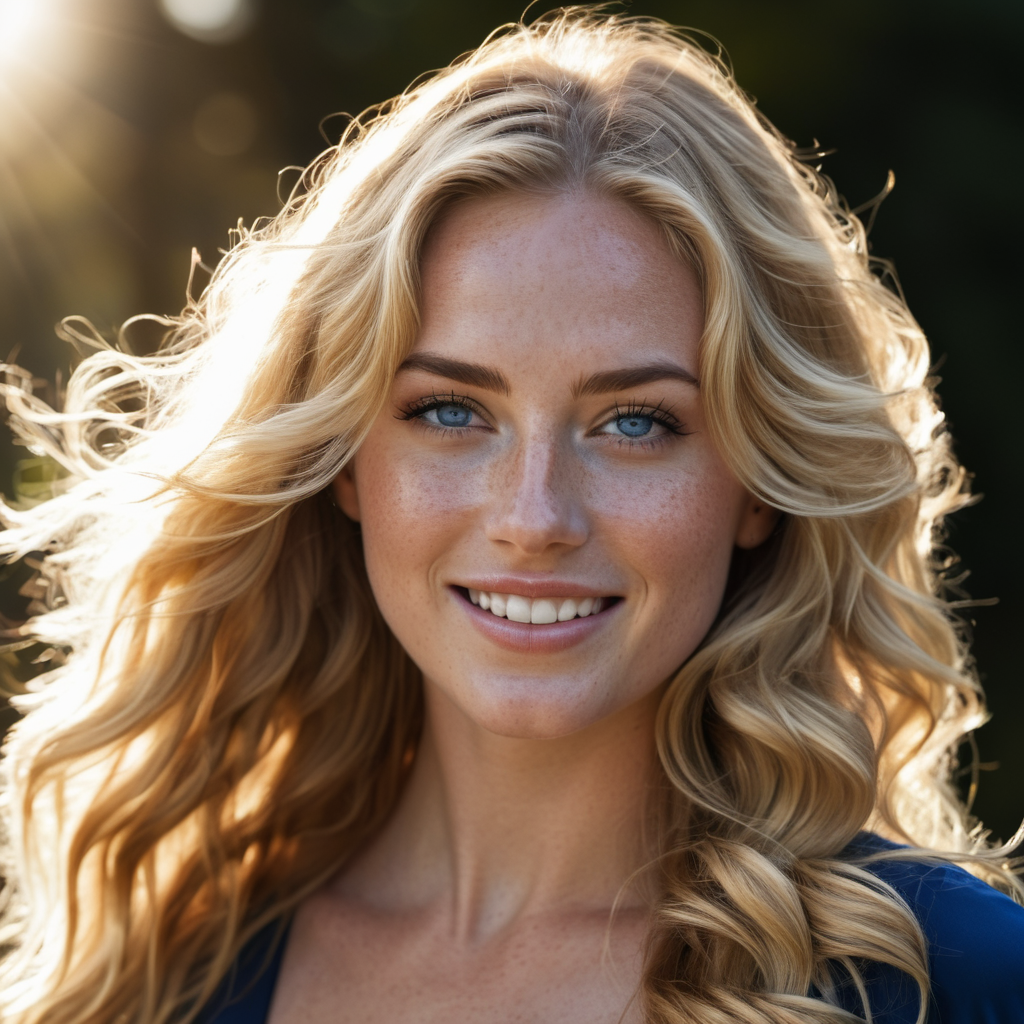
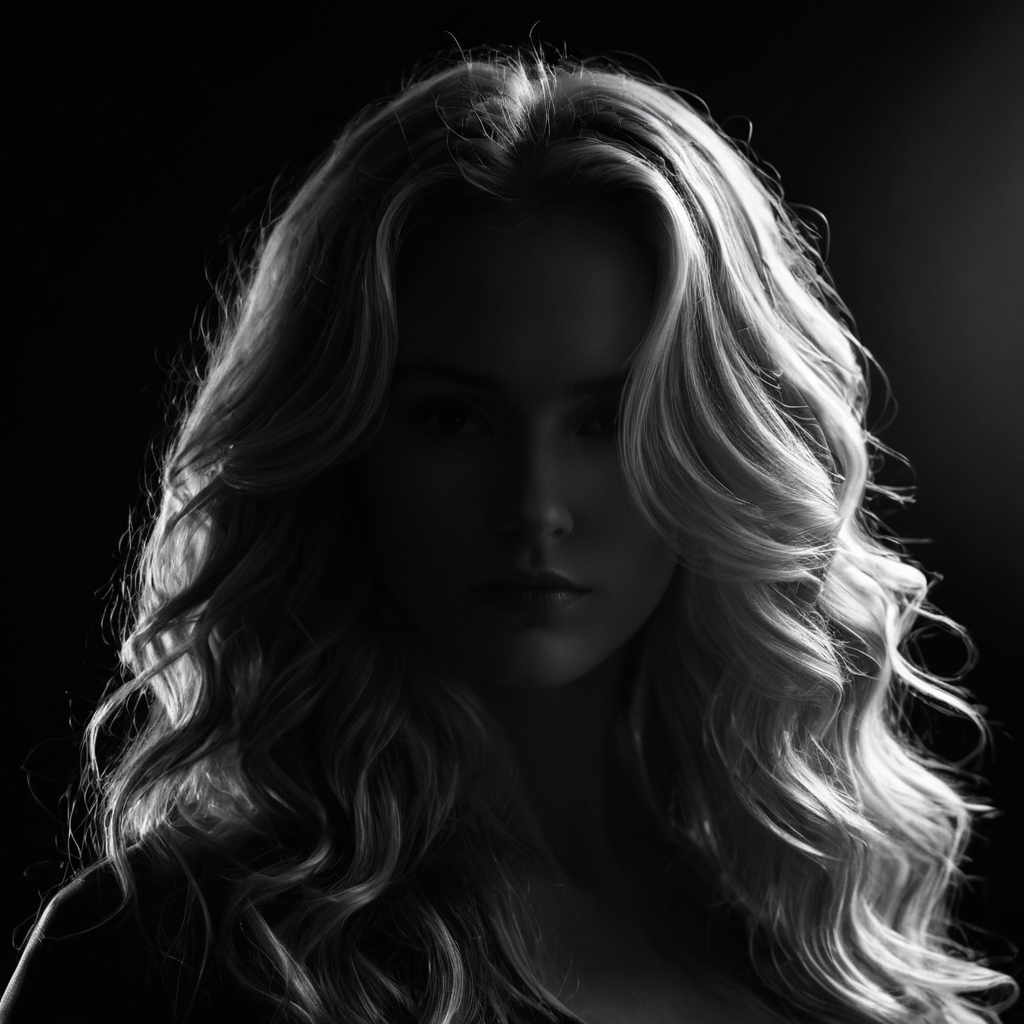
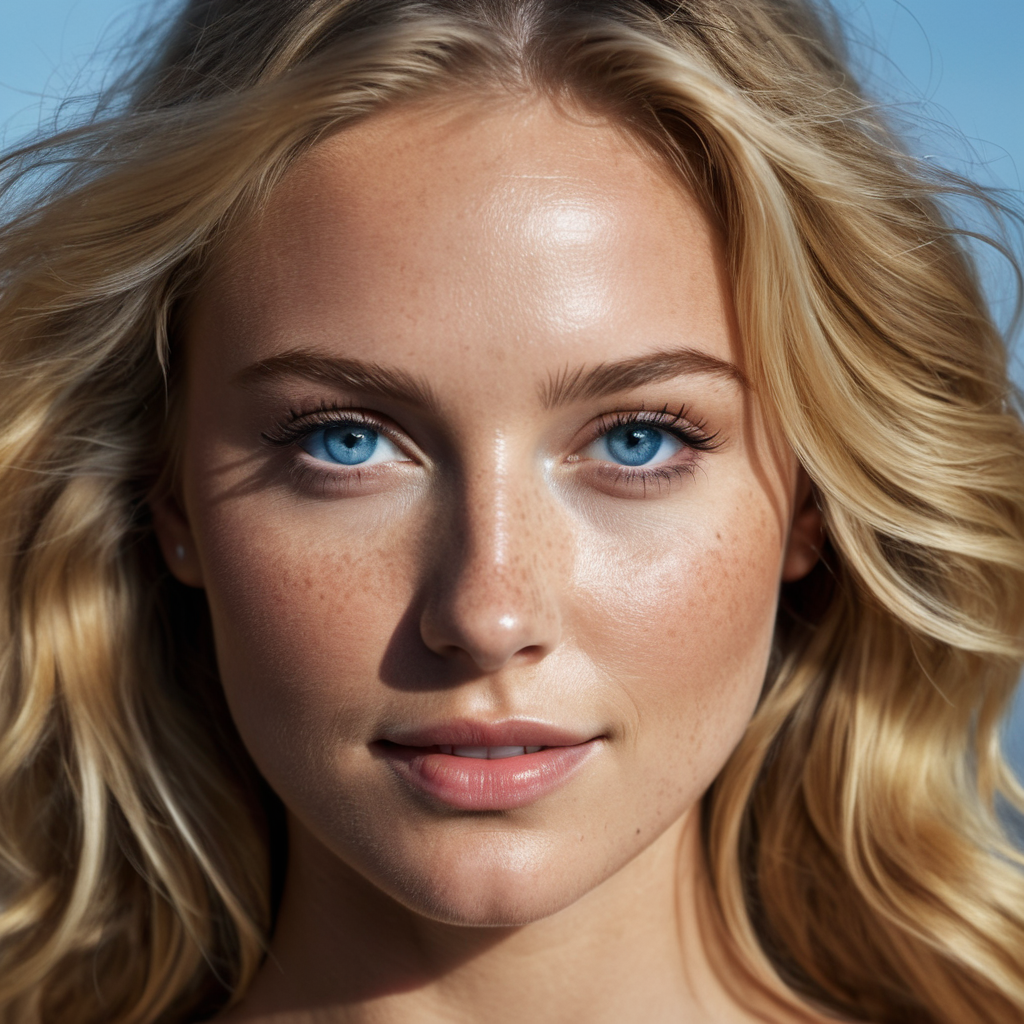
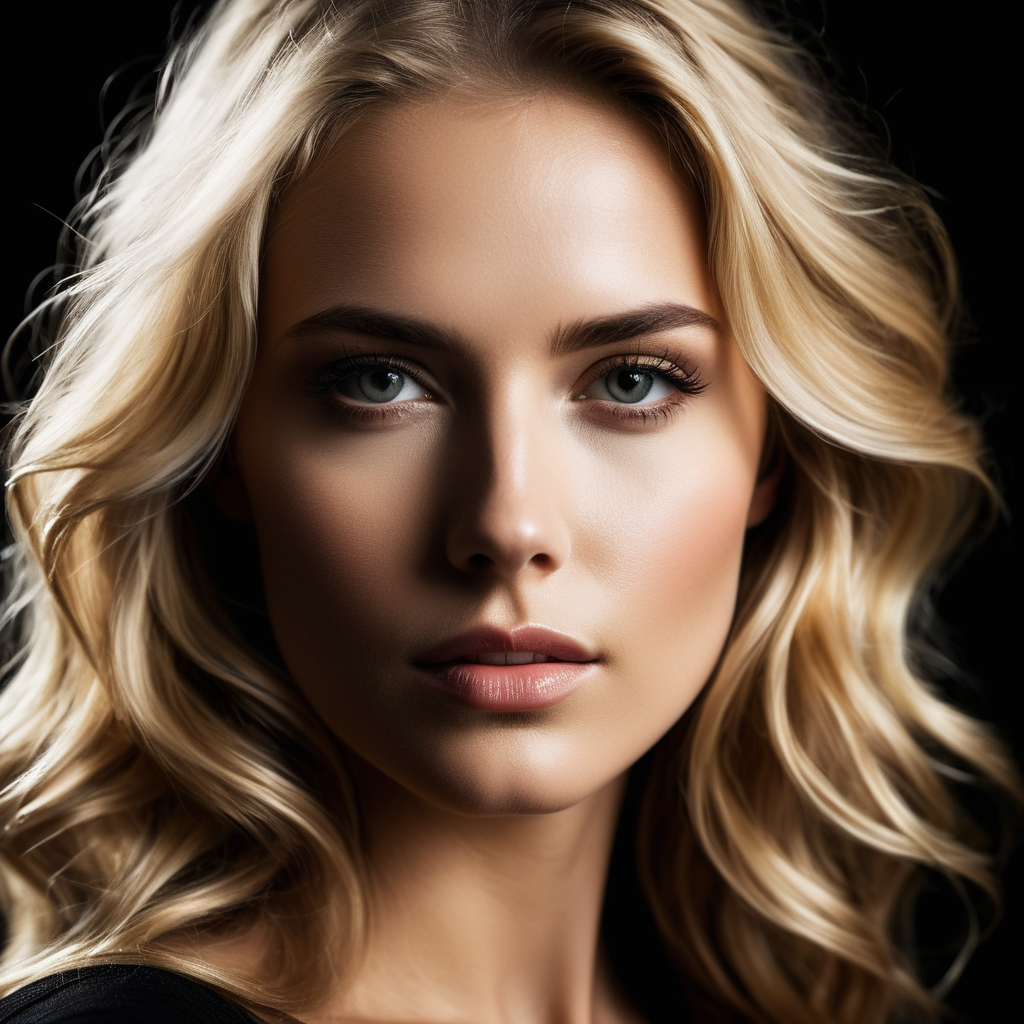
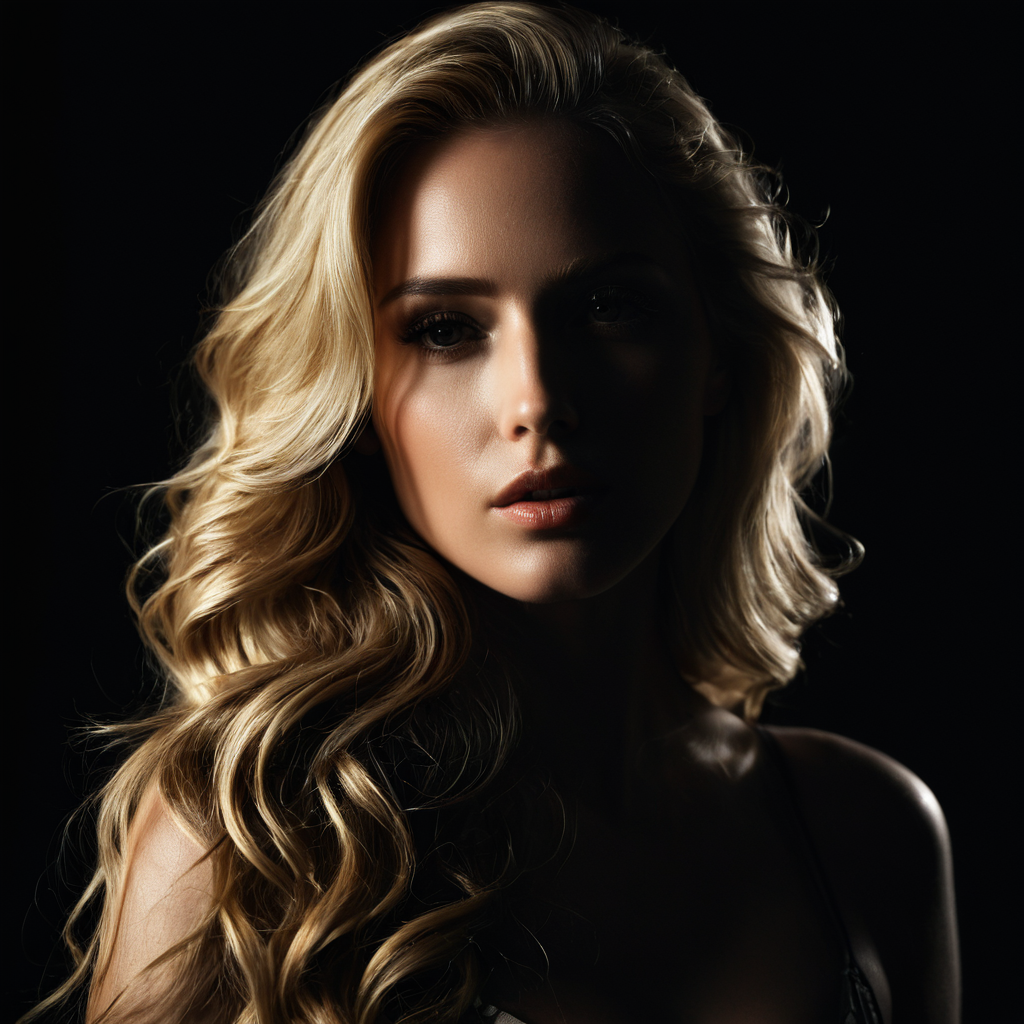
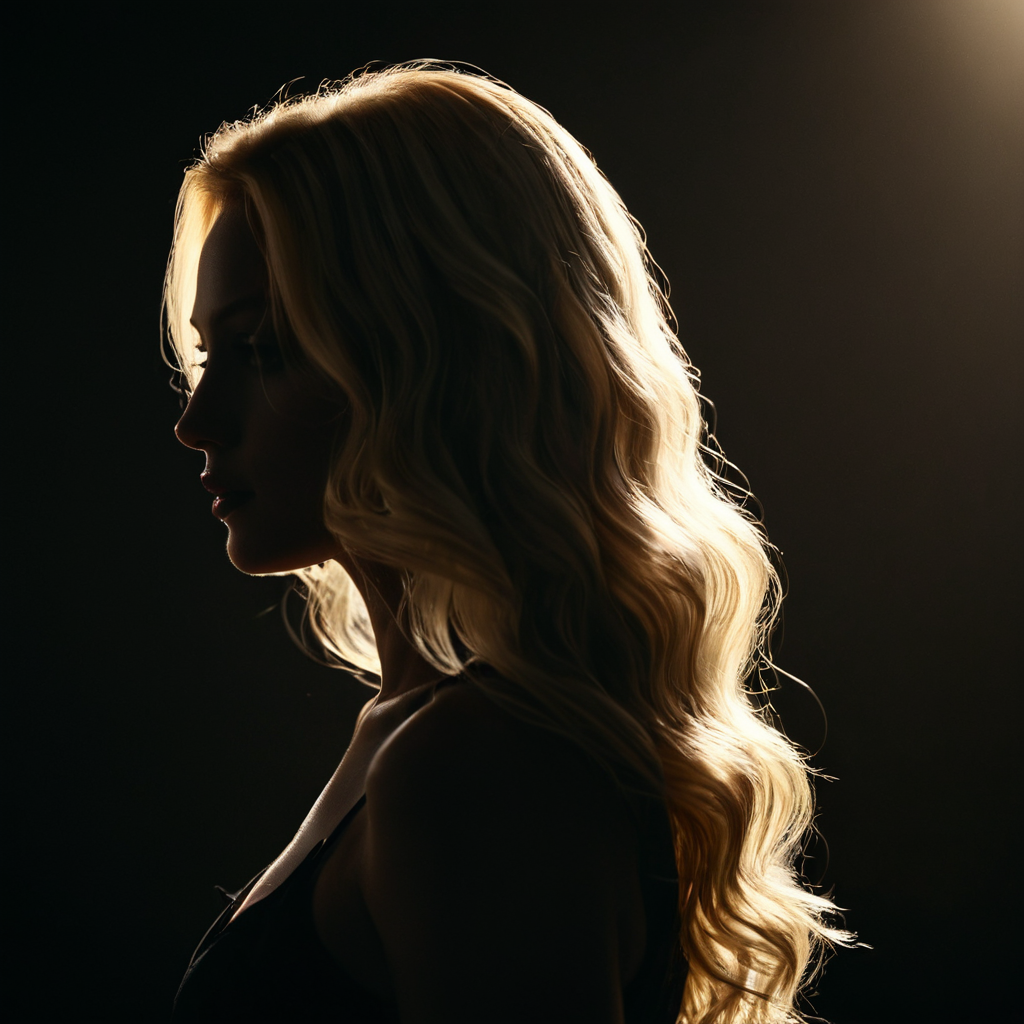
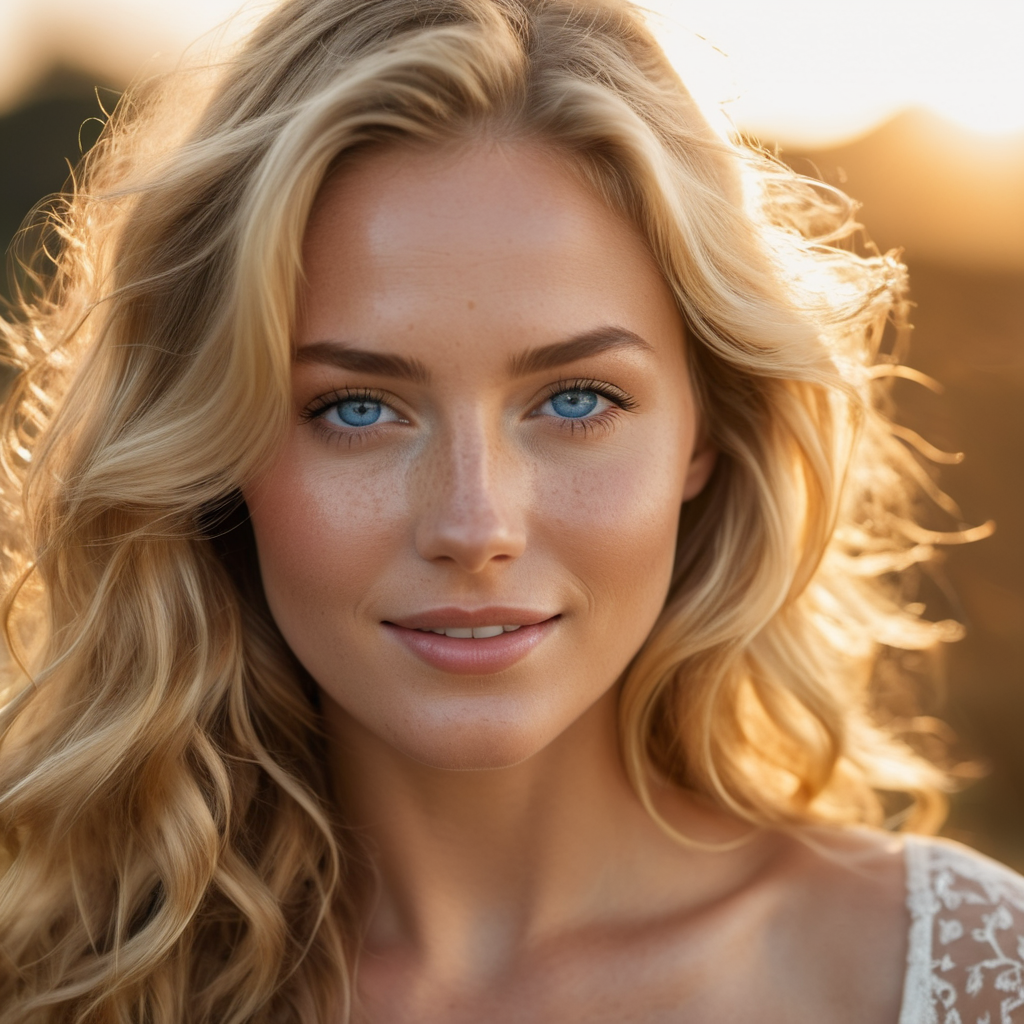
Here are a few examples of different lighting techniques:
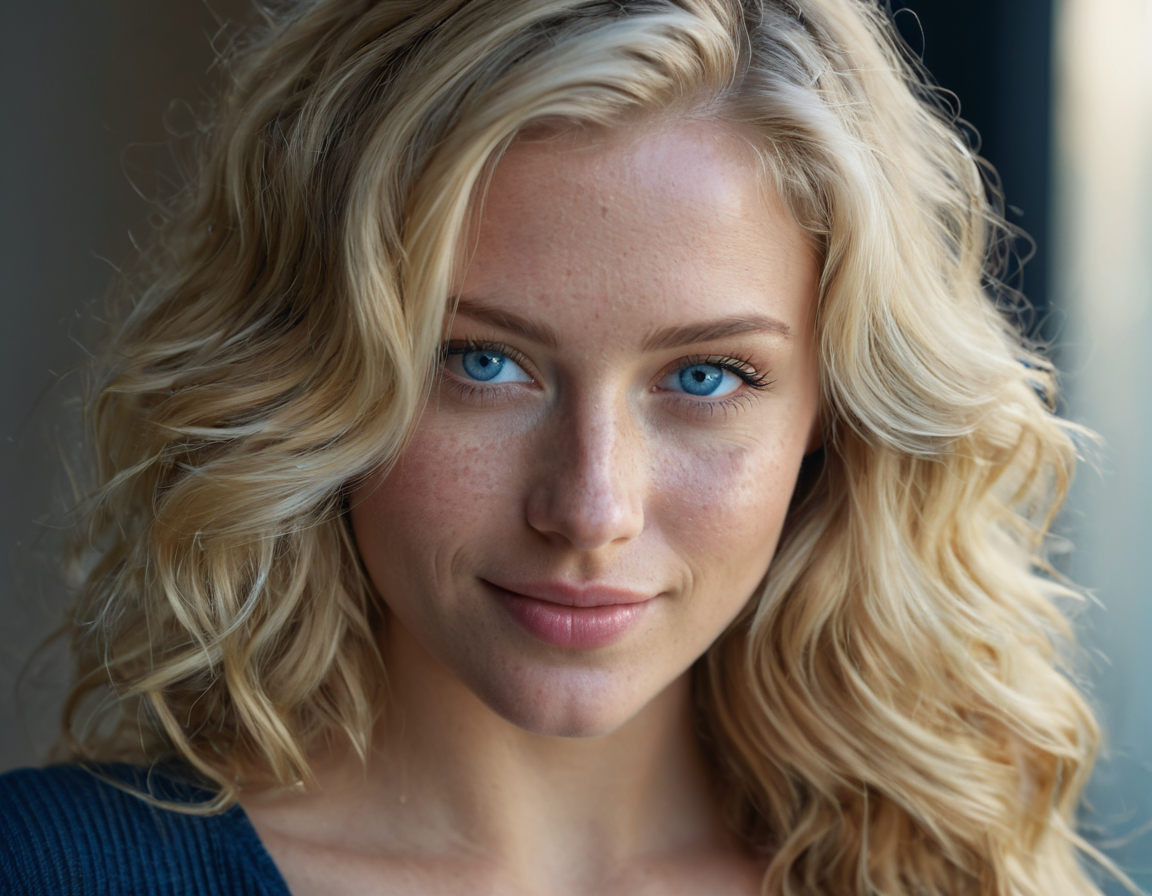
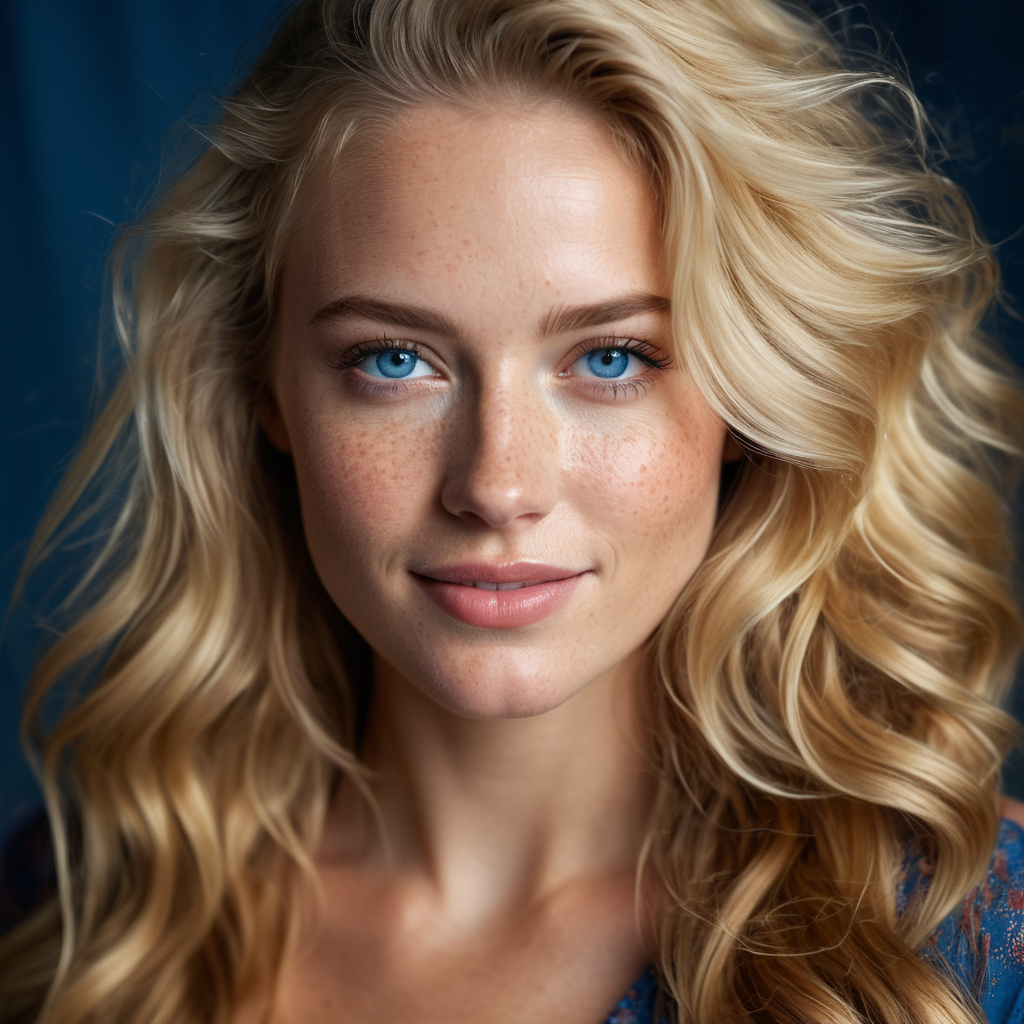
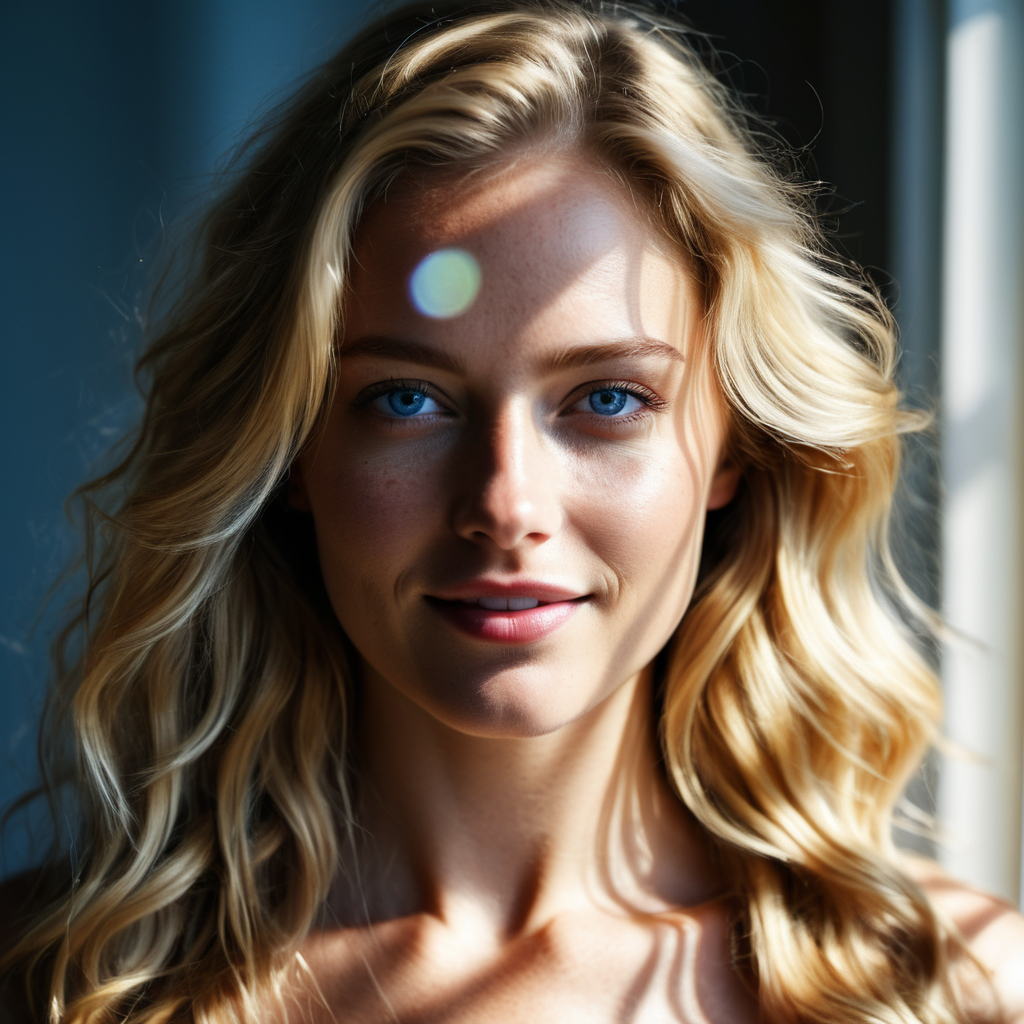
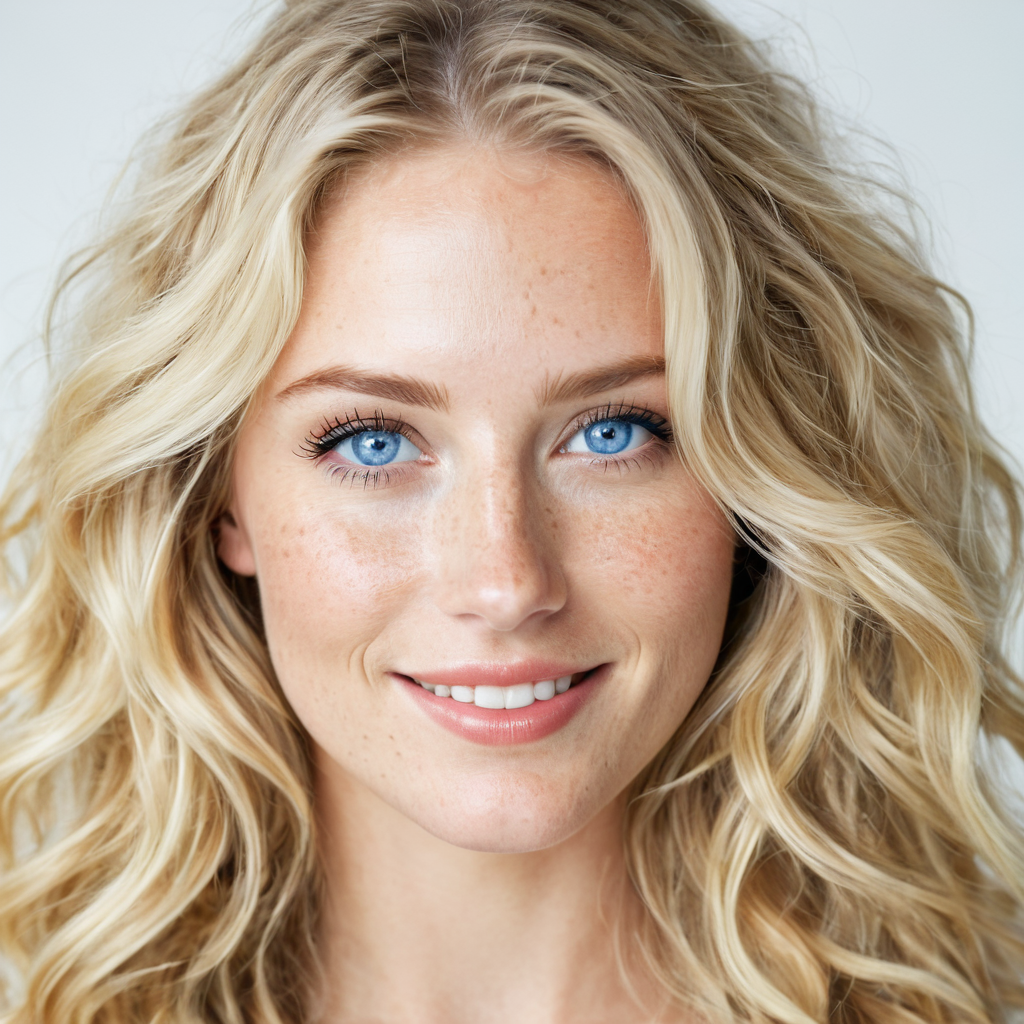
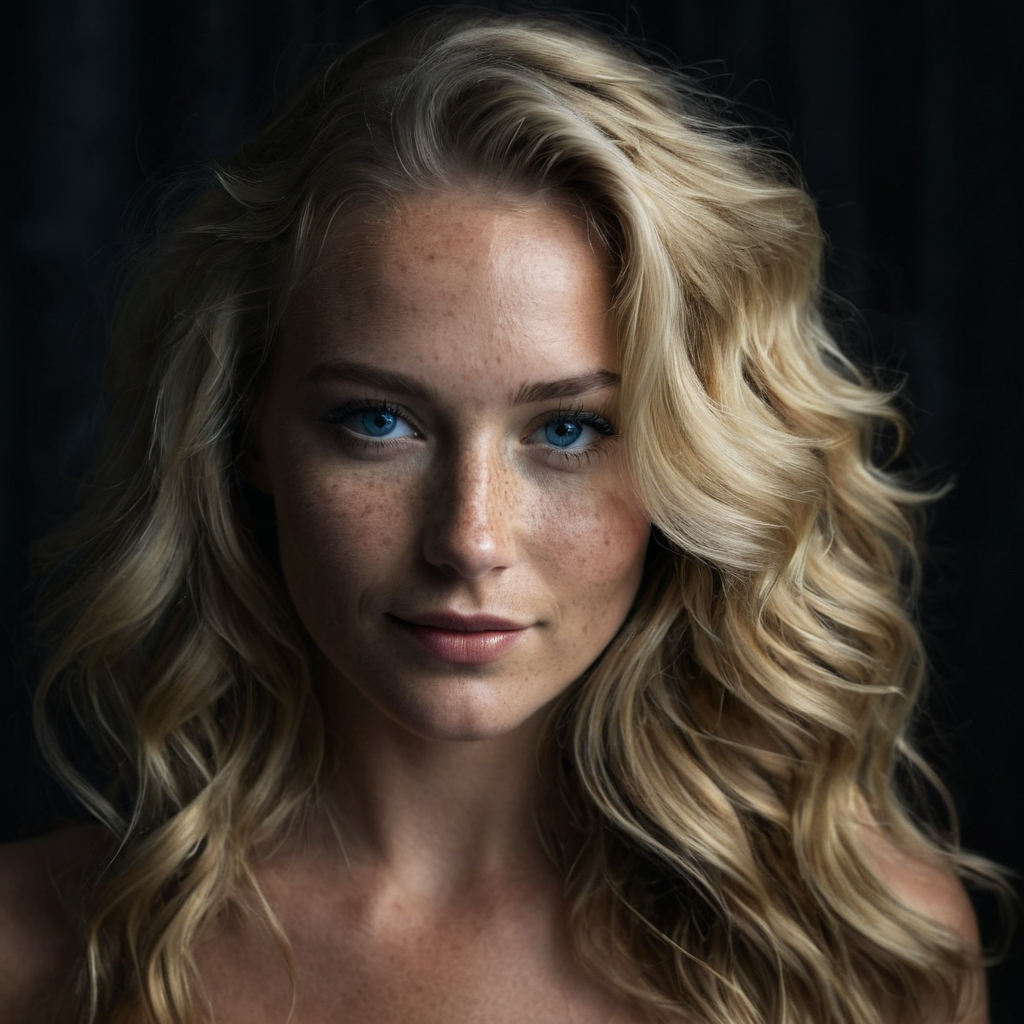
You can even try different types of photography-specific lighting setups, but it is a hit or miss. Tengr.ai will recognize some of them, but maybe not all. In case it doesn’t recognize a certain lighting type, you could try adding the main characteristics of that lighting to the prompt. In some cases it helps. We gathered a few interesting ones for you to try:
- Rembrandt Lighting (Characterized by a dramatic use of shadows and light, creating a lit-up triangular patch underneath the subject’s eye on the less illuminated area of the face, while the rest of the face is in shadow. It gives images a dramatic, artistic, yet natural look.)
- Chiaroscuro (Originally used in paintings. It refers to the dramatic look obtained by the contrasting effect of light and dark areas in an image).
- Cinematic Lighting (Recreates the look of movie scenes).
- Studio Lighting (It makes your image look like a professional photographer took it).
- Golden Hour (Warm-toned, soft sunlight, giving images a soft, golden, magical look).
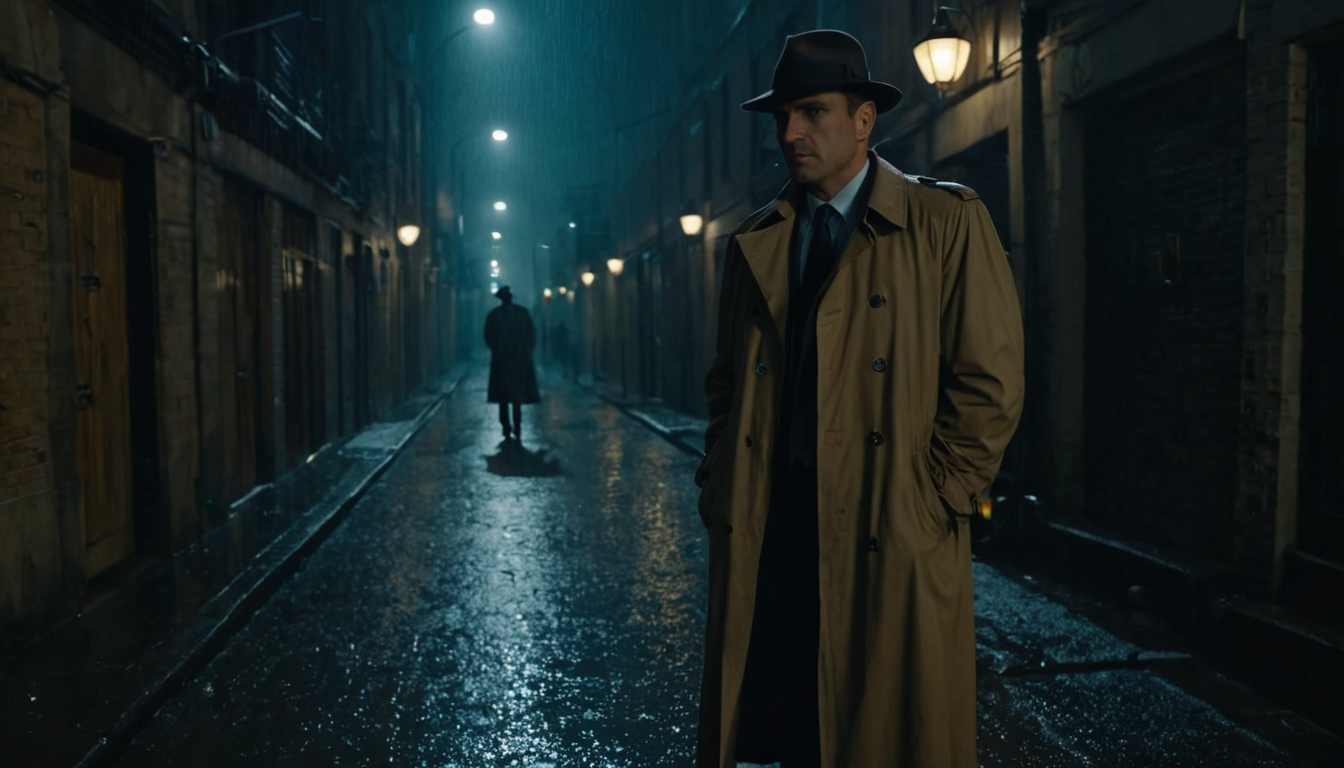
- Blue Hour (Creates an unsettling vibe, a sense of mystery and danger, and a moody and dramatic atmosphere).
- Silhouette Lighting (Uses strong backlight, with almost no light in front of the subject. By emphasizing only the subject’s silhouette, it creates a sense of mystery).
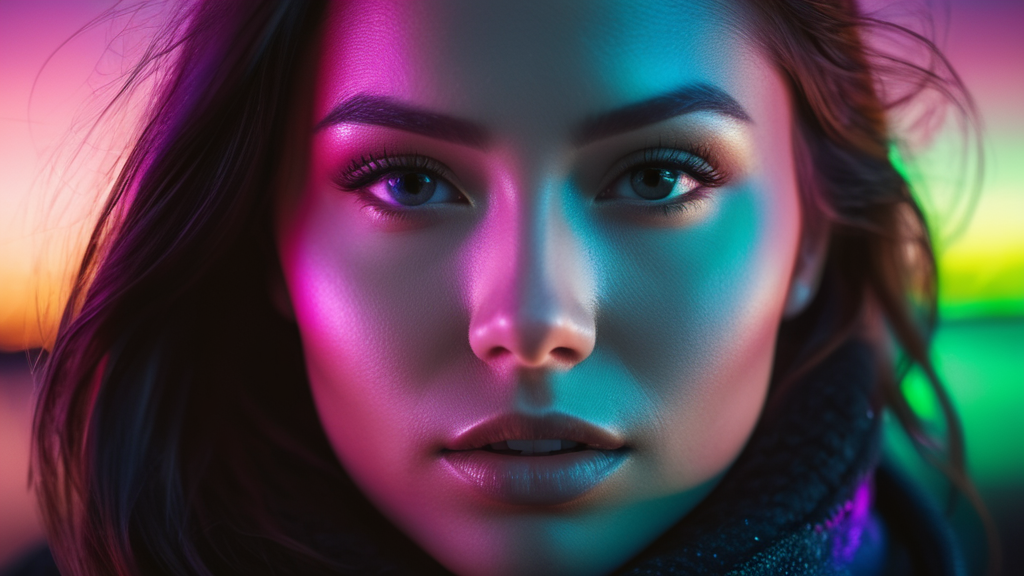
Don’t be afraid to add various lighting styles like bioluminescent, neon, and holographic to discover amazing effects that can boost your imagery. Incorporating lighting terms into your prompt can give a wow-effect to your image.
Important to remember! Don’t be discouraged if the AI doesn’t get you the precise results that you want on the first attempt. It might take a few tries and adjustments to get there. Think about the time and effort photographers put into a photo shoot to get the perfect photo. Tengr.ai will usually give you a similar style, with much less time and effort.
Setting the Mood
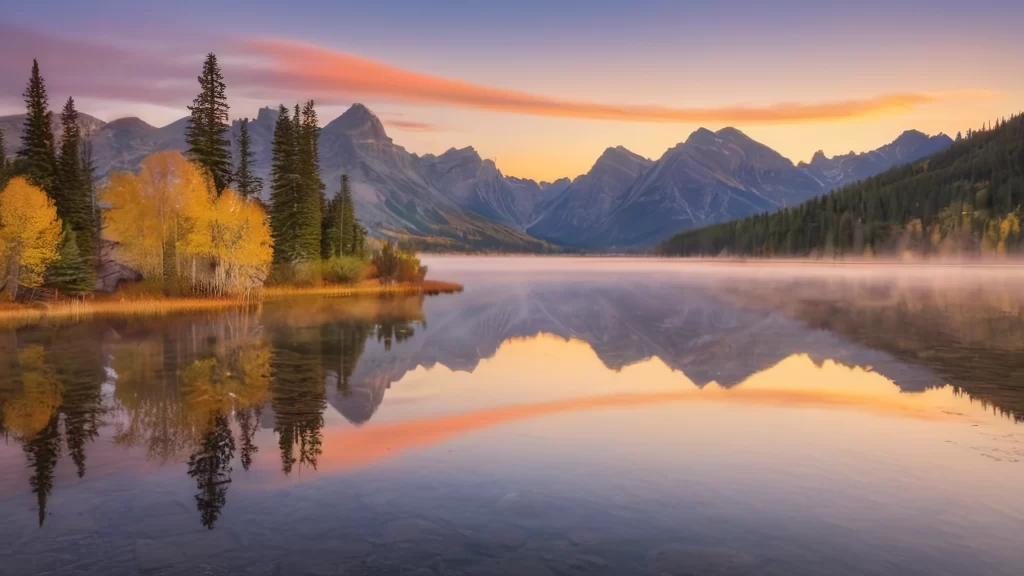
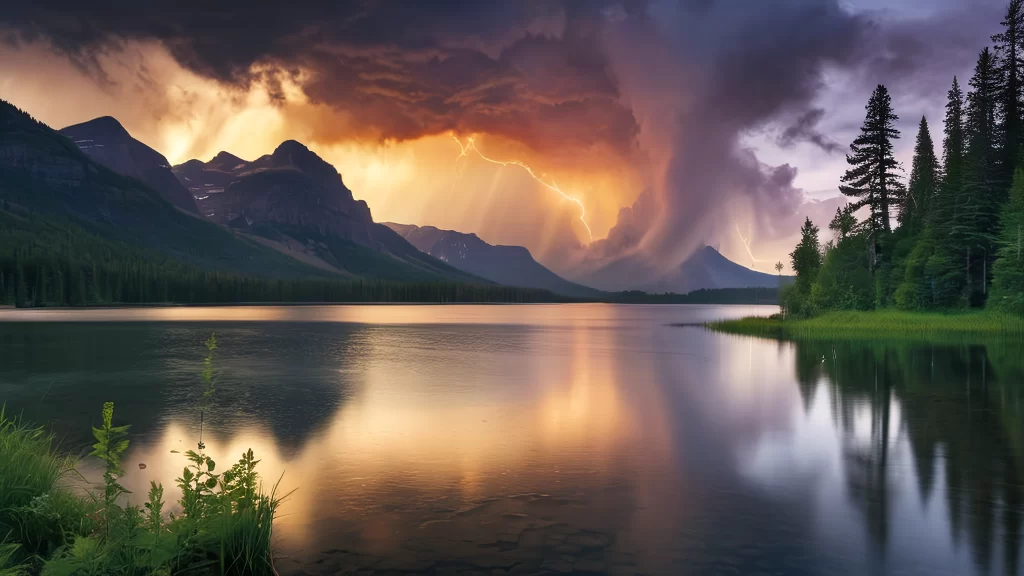
Creating the right mood in your images is all about mastering the use of colors, lighting, and environmental details. Each of these has the potential to draw certain emotional reactions from the viewer. If you want to showcase happiness, use bright colors, high-key lighting, and cheerful expressions. On the other hand, if sadness is what you’re trying to show, use muted colors, low-key lighting, and somber expressions. Tension is all about harsh lighting, dark shadows, and intense expressions, while a calm atmosphere needs soft lighting, pastel colors, and relaxed expressions.
Here’s a practical example: “A serene lakeside landscape at dawn, with a calm mood, soft pastel colors, and gentle lighting.” Environmental elements like fog, rain, mist, thunder can change the mood of a location easily: “A serene lakeside landscape at dawn, gentle rain falling over the water, thunderclouds gathering above the lake.”
Another thing that can help set the overall vibe of your image is the inclusion of words that express certain emotions or moods, into your prompt. For a positive mood you can add words like: cozy, romantic, joyful, tranquil, whimsical, dreamy, serene. Negative moods can include: grim, loneliness, fear, melancholic, macabre, creepy, dystopian, desolate, tense.
Experimenting with these elements can help you create the desired mood in your AI-generated images. Whether you opt for a calm, ominous, or joyous mood, the right mix of these visual cues will do the trick.
Color and Texture
Color and texture can add depth and life to your images. It also helps the AI to create the visual that you want more accurately. You can either describe the overall color palette to be used on your image or mention specific colors. Also, you can mention warm or cool tones or monochromatic coloring. Different colors can bring out different emotional responses from viewers. So, choosing the right coloring for your image can influence the mood and the final look as well.
You can use a vibrant color palette or a muted one. Vibrant color palettes include bright and saturated colors. These can create energetic, joyful, eye-catching images. Muted colors, on the other hand, include desaturated, soft colors. These can create a calm, nostalgic atmosphere. AI image models are well-trained in what people usually like, so you don’t need to be a specialist in color therapy, just mention a few keywords and you will most likely get a pleasing result.
Fun tip: Try adding the following color vibes to your prompts for some amazing color combinations: Celestial Harmony, Enchanted Forest, Sunset Serenity, Galactic Nebula, Cyberpunk Dream, Desert Mirage, Aurora Borealis, Retro Futurism, Tropical Bliss, Midnight Jazz. Example prompt: “cute little girl face, … color vibe, mind-blowing color explosion, masterpiece”.
Adding textures to your prompt can be a powerful tool for elevating images, so don’t miss out on this opportunity. Choose textures that align with the mood or story of your image. Some examples for textures: rough, smooth, feathery, matte, scaly, glossy, shiny, coarse, bumpy, soft, grainy, glassy, furry, velvety, irregular, sticky, rigid, knobby. Mentioning textures or materials can add layers to your creation and make it more vivid.
Image Specifications
To make sure that your image is appropriate for what you intend to use it, specify the right aspect ratio. Aspect ratio selection is a lot more important than one would think. This actually determines the shape of your image, the ratio of width to height. There are wide framed (16:9, 21:9), vertical (9:16, 4:7) and square aspect ratios (1:1). However, the good thing is that with Tengr.ai you don’t have to mention it separately in your prompt; there is a selection of aspect ratios that you can choose from, with just one click.
Let’s say you ask for a full body image or even a close-up shot portrait and you choose a wide aspect ratio. In these cases, the AI often cuts the top part of the head in the portrait (it still looks good, but it might bother some people). For a full-body shot, it might only generate the upper body or lower body, or cut some parts out. Fortunately, you can fix this by choosing the appropriate aspect ratio for your intended outcome. So, you really shouldn’t neglect this aspect when you get undesirable results.
If you want your image to be highly detailed, you can add phrases like this to your prompt: highly detailed, intricately detailed, extremely detailed, absurdly detailed, or hyper-detailed. Try them out, and see the differences in detail.
Conclusion
By incorporating these advanced techniques and tips into your prompts, you can really elevate your creations to new heights and achieve more precise results. Experiment with these elements to see how they transform your images. The key is practicing as much as possible. Tengr.ai may not replicate every camera angle and lighting type with perfect precision, as it isn’t a professional camera. However, it can still effectively mimic the style, and produce impressive results.
For more useful tips, check out our constantly growing YouTube channel where we share new tutorials regularly. Furthermore, stay tuned for more useful content in upcoming blog posts and continue exploring the endless possibilities with Tengr.ai. Happy prompting!
Would be nice if aspect ratio could be set when using an initial image (it’s possible in other software) and not simply default to the ratio of what is input. Thanks.
Thank you so much for the suggestion. With our model aspect ratio set to different to the initial image usually has suboptimal results. We will investigate the possibility of fixing it. In release version (1.0) it will surely be solved, hopefully sooner.
Hello Peter!
Are these commands available to all users?
Hi, they are available to everyone, including free users. Please note that paid tier customers have priority and more resource allocation. So it will be faster and better especially in peak hours. But the command is the same.
Very informative. Thanks.
Is there posible to create image with models without face change?
At the moment only for our business tier customer through managed service, due to the high likelyhood of misuse. We don’t want deepfakes, especially not deepfakes combined with a model that can show a lot of skin. With that, we hope to release the tool in a few weeks, when Hyperalign is perfected to a level, where we can be confident that it prevents such misuse.